Today was one of those wonderfully chaotic days — timers beeping, mixers humming, flour floating through the air (not to mention the mishap with my Instapot, but that’s a story for another time), and yes, coffee very much in hand. ☕️ Ya’ll know I have to have my coffee!
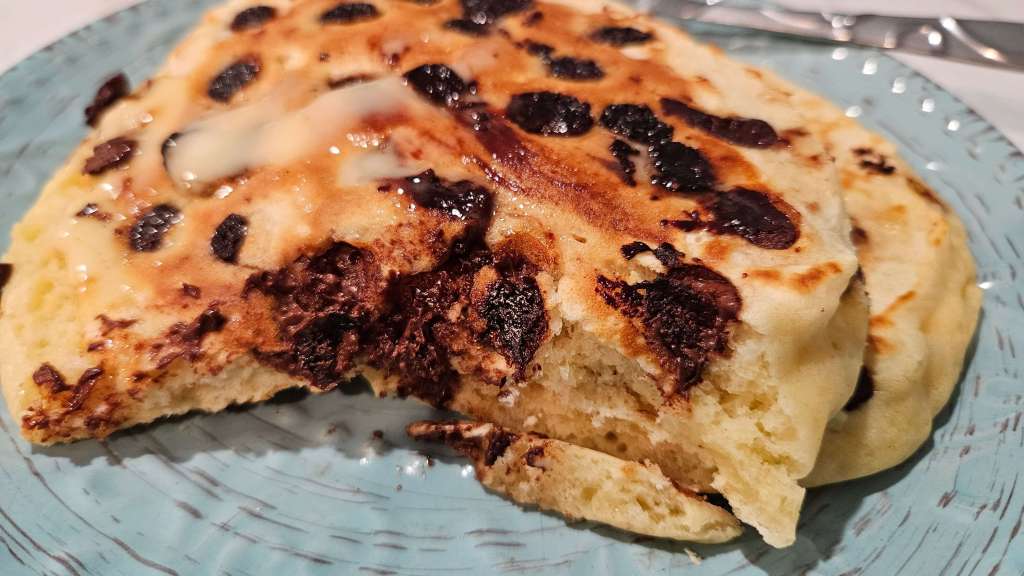
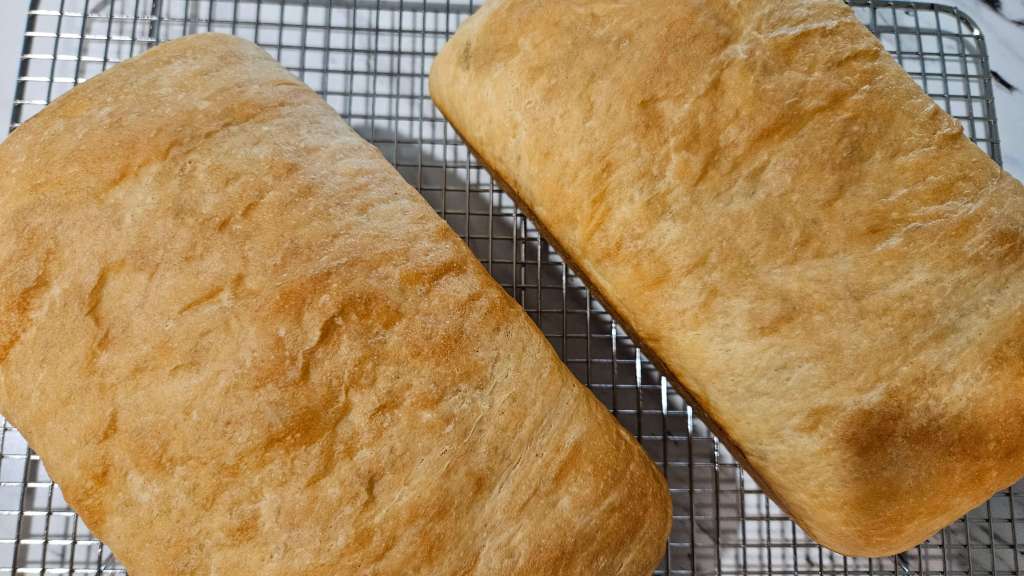
Between stacks of mixing bowls and a slightly insane kitchen, I’ve been working on some truly delicious things: think fluffy chocolate chip pancakes, summery strawberry, blueberry & peach jam, and soft, golden loaves of white sandwich bread fresh from the oven. 🍫🥞🍓🍑🍞
It’s a little messy behind the scenes, but that’s where the magic happens — and I can’t wait to share it all with you soon ❤️ PS – I added some pictures of what is on the way!
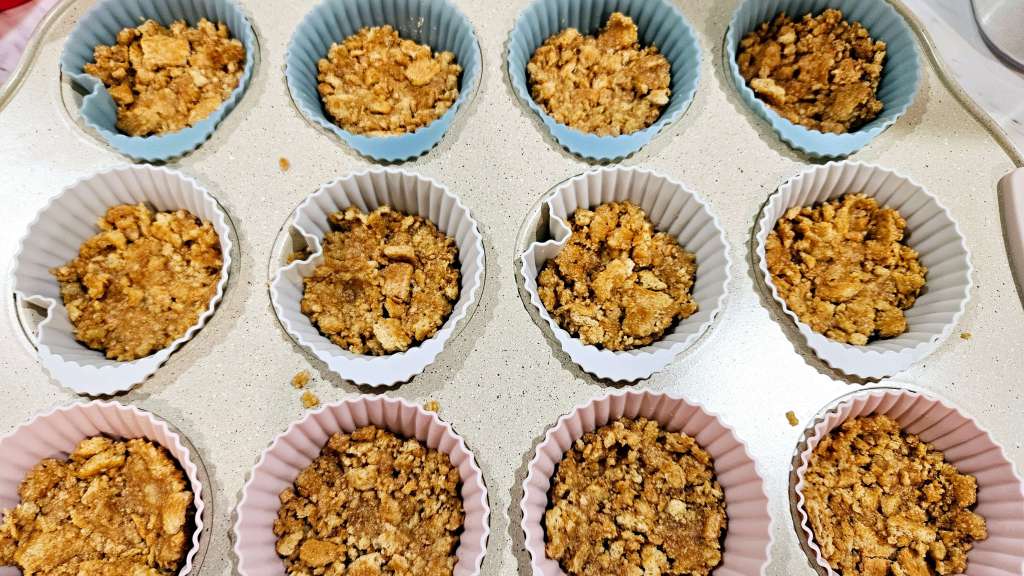
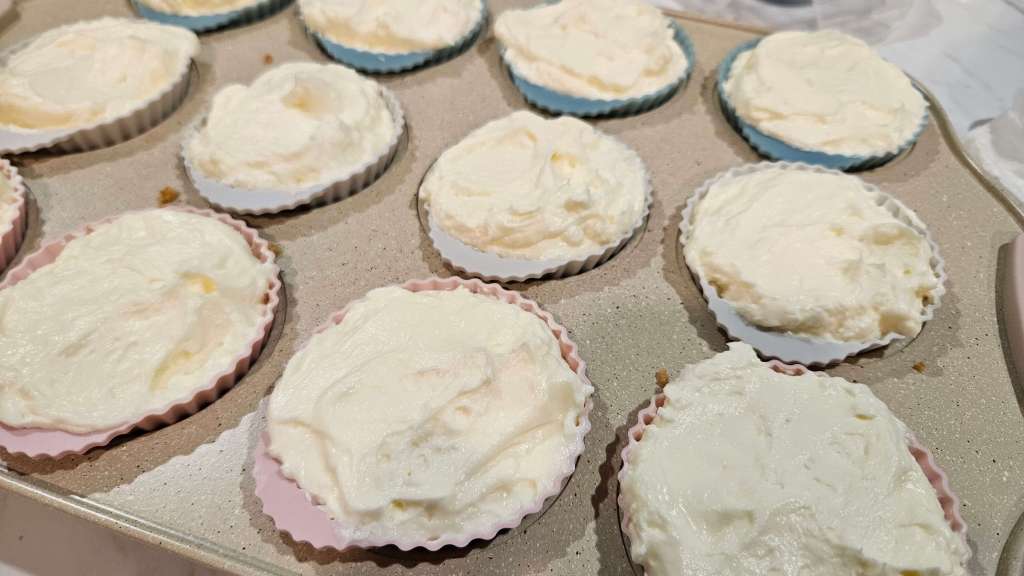
Who needs an oven when you’ve got these No-Bake Mini Cheesecakes? They’re the perfect solution for those days when you want something sweet but can’t be bothered to turn on the oven or even leave the couch. With a buttery graham cracker crust and a smooth, dreamy filling, these cheesecakes are so easy, you’ll wonder why you’ve been making the big, complicated ones all these years. Just whip, chill, and eat—no baking, no stress, just pure, mini cheesecake magic!
For the Graham Cracker Crust
1 ½ cups graham crackers (about 10 to 12 whole crackers)
8 Tbsp unsalted butter
2 Tbsp sugar

Ingredients for No-Bake Cheesecake
16 oz cream cheese (2) 8 oz Blocks, room temperature
⅔ cup sugar
2 Tbsp sour cream
2 Tbsp lemon juice
1 cup heavy whipping cream
Instructions:
Line your muffin tin with paper liners. If you don’t have a spare muffin tin to make 14 total, you can put the extra 2 into ramekins.
In a medium bowl, stir together graham crackers and sugar then add melted butter and stir until crumbs are evenly moistened. Divide the crumbs between your paper liners (about 2 Tablespoons in each). Press the crumbs evenly into the bottom of the liners to form the crust.
In a large mixing bowl, beat the cream cheese and sugar with an electric hand mixer on medium/high speed for 3 minutes until fluffy and completely smooth, scraping down the bowl as needed. Add sour cream and lemon juice and beat for another minute until well incorporated.
Wash the mixer attachments and then in a second large mixing bowl, beat heavy whipping cream on medium-high speed for about 3 minutes, or until whipped and stiff peaks form.
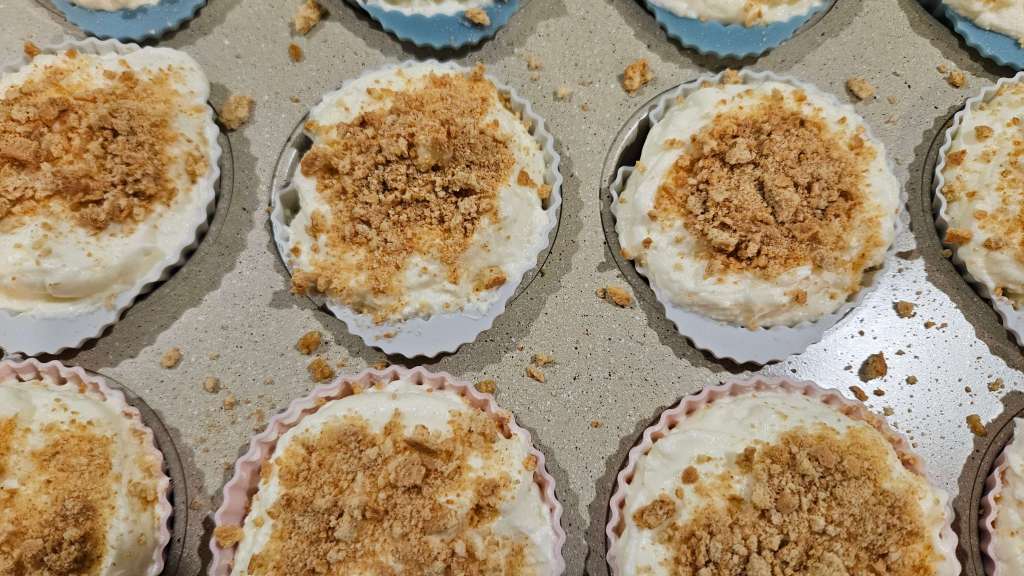
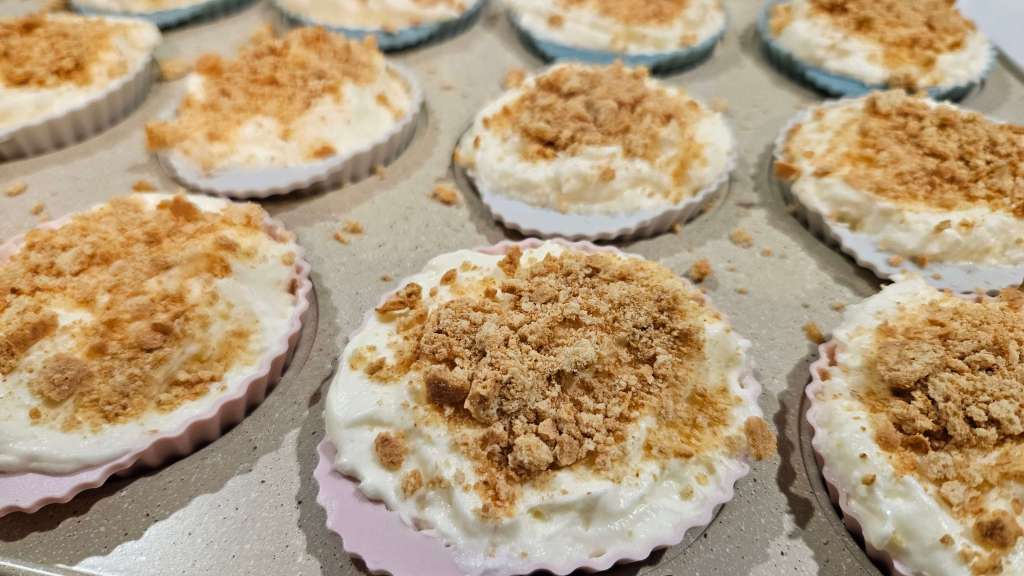
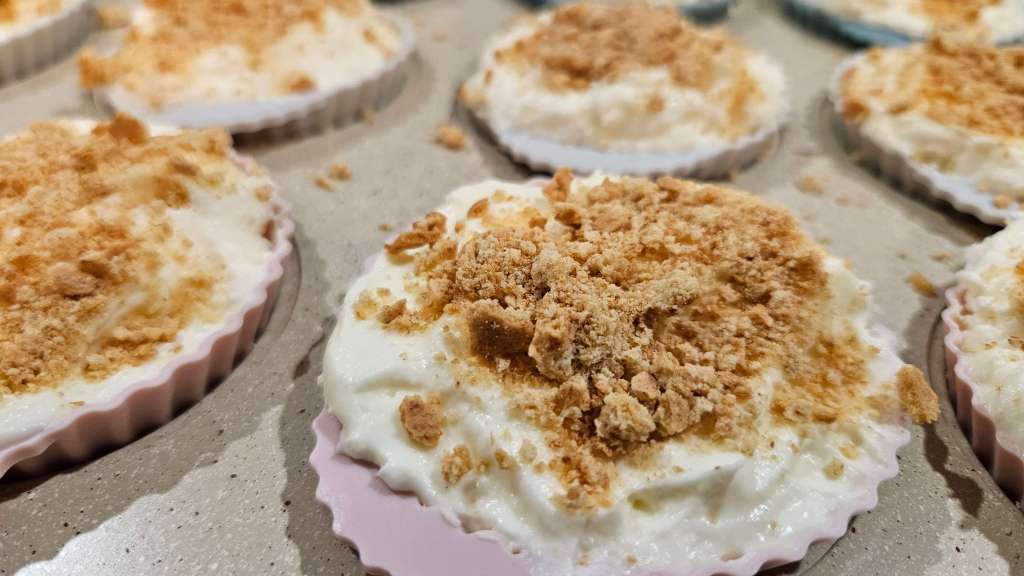
Using a spatula fold the whipped cream into the cream cheese mixture until fully combined, scraping from the bottom of the bowl as you mix. Divide the cheesecake mixture evenly between your cupcake liners (a trigger-release ice cream scoop makes this easy!). Even out the tops with the back of a spoon. The cream cheese should be about level with the tops of the cupcake liners. I topped mine with some crushed graham crackers, this is completely optional.
Refrigerate the mini cheesecakes for at least 6 hours or overnight (set a reminder to cover with plastic wrap after a couple of hours in the refrigerator).
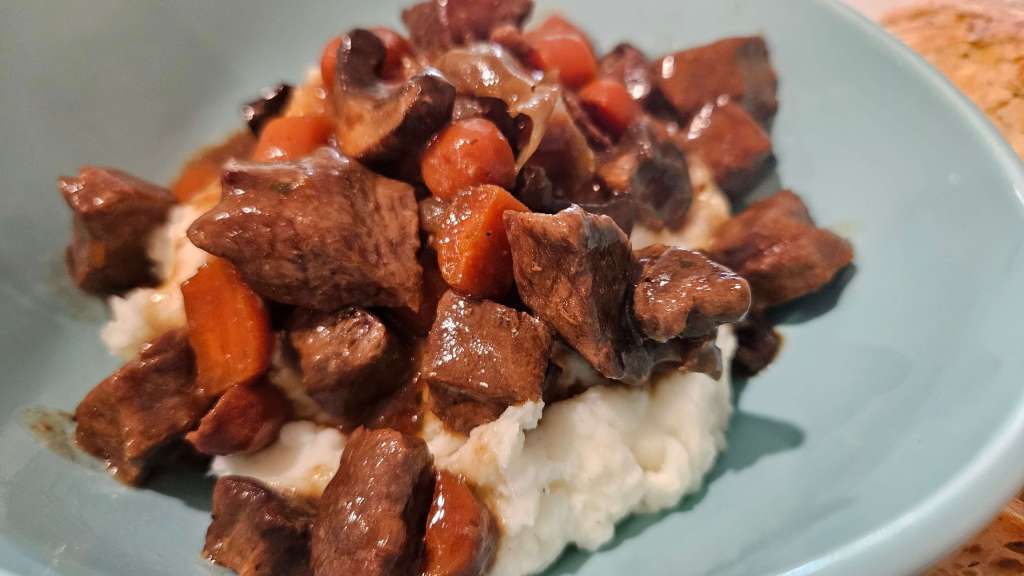
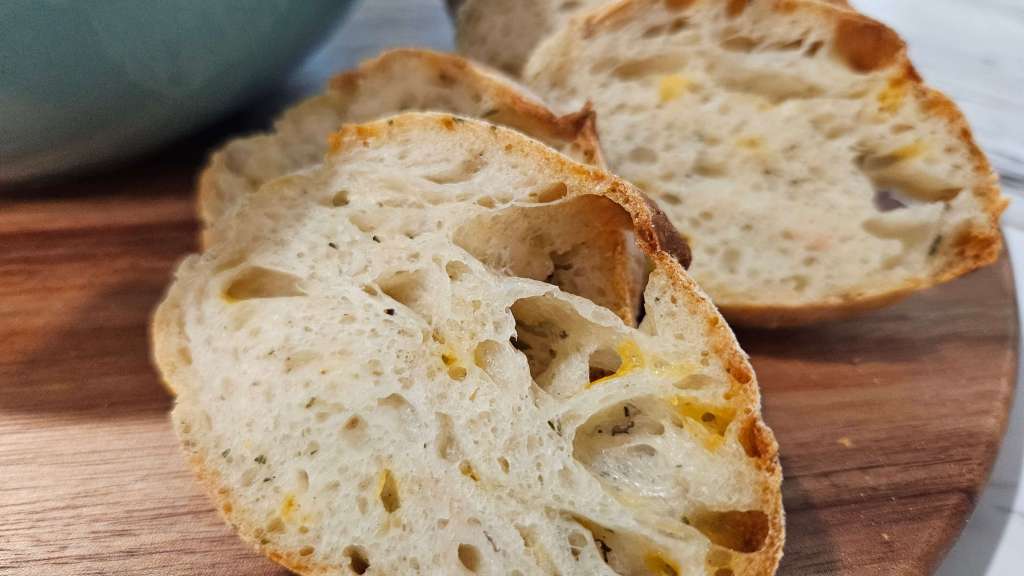
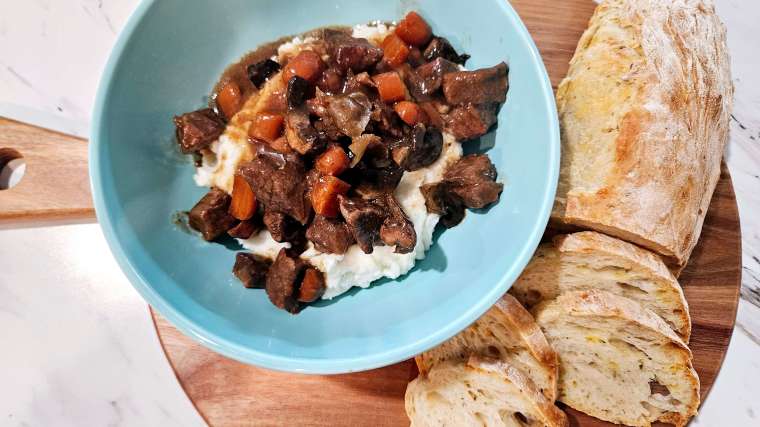
Imagine sinking your fork into a tender, melt-in-your-mouth Mississippi pot roast, the rich, savory aroma filling the air as the juices soak into every fiber of the beef. The roast, slow-cooked to perfection, is bathed in a flavorful gravy made from a magical combination of ranch seasoning, au jus, vegetables, and pepperoncini, giving it a tangy yet hearty bite that’ll make your taste buds sing. And the best part? You’ve got a warm, fluffy loaf of homemade bread (recipe here) to sop up every last drop of that luscious sauce. Each bite is a symphony of comfort, with the pillowy bread acting as the perfect companion to the succulent roast. This meal isn’t just food; it’s a hug for your soul.
Ingredients:
3-4 lb. Beef chuck roast (boneless or bone-in)
1 packet ranch dressing mix (preferably the dry seasoning mix)
1 packet au jus gravy mix
3 Tbs. Unsalted butter
6-8 pepperoncini peppers (with some juice)
1/4 cup of the pepperoncini juice (or more to taste)
2 Carrots, cut into 1 inch pieces
1 lb mushrooms (your favorite ones) cut in quarters
Salt and pepper (to taste; I don’t use this since there are other seasonings)
Instructions:
Step 1: Prep the Roast
Season the Roast: Pat the beef chuck roast dry with paper towels. Season generously with salt and pepper on all sides.
Sear the Roast (Optional): Heat 1 tablespoon of olive oil in a large skillet over medium-high heat. Once hot, sear the roast on all sides (about 3-4 minutes per side) until it’s nicely browned. This step is optional but adds depth of flavor.
Step 2: Prepare the Slow Cooker
Place the seared (or raw) roast in the slow cooker.
Sprinkle the ranch dressing mix and au jus gravy mix evenly over the top of the roast.
Step 3: Add Butter and Peppers
Slice the butter into a few pieces and place them directly on top of the roast.
Scatter the pepperoncini peppers around the roast, and pour in about 1/4 cup of the pepperoncini juice. You can add more juice if you want a more tangy kick.
Step 4: Add Vegetables
Carrots: Arrange the baby carrots (or cut regular carrots) around the roast in the slow cooker.
Mushrooms: Add the sliced mushrooms on top of and around the roast as well. These will soak up all the savory flavors and tenderize perfectly as the roast cooks.
Step 5: Slow Cook the Roast
Cover the slow cooker and cook the roast on low for 7-8 hours or until the roast is fork-tender and can easily be shredded. If you’re in a time crunch, cook on high for about 4-5 hours. The vegetables should be tender and infused with all the delicious flavors.
Step 6: Shred the Roast
Once the roast is done, remove it from the slow cooker and place it on a large cutting board. Use two forks to shred the beef into bite-sized pieces.
Stir the remaining cooking juices in the slow cooker to combine the flavors from the ranch mix, au jus, butter, and pepperoncini juice.
Step 7: Return the Shredded Meat to the Slow Cooker
Add the shredded beef back into the slow cooker, stirring to coat the meat and vegetables in the rich gravy.
Step 8: Serve and Enjoy
Serve the Mississippi Pot Roast with carrots and mushrooms over mashed potatoes, rice, or alongside a warm loaf of homemade bread (Recipe here) The tender, juicy meat, savory vegetables, and rich gravy will make every bite a comforting delight.
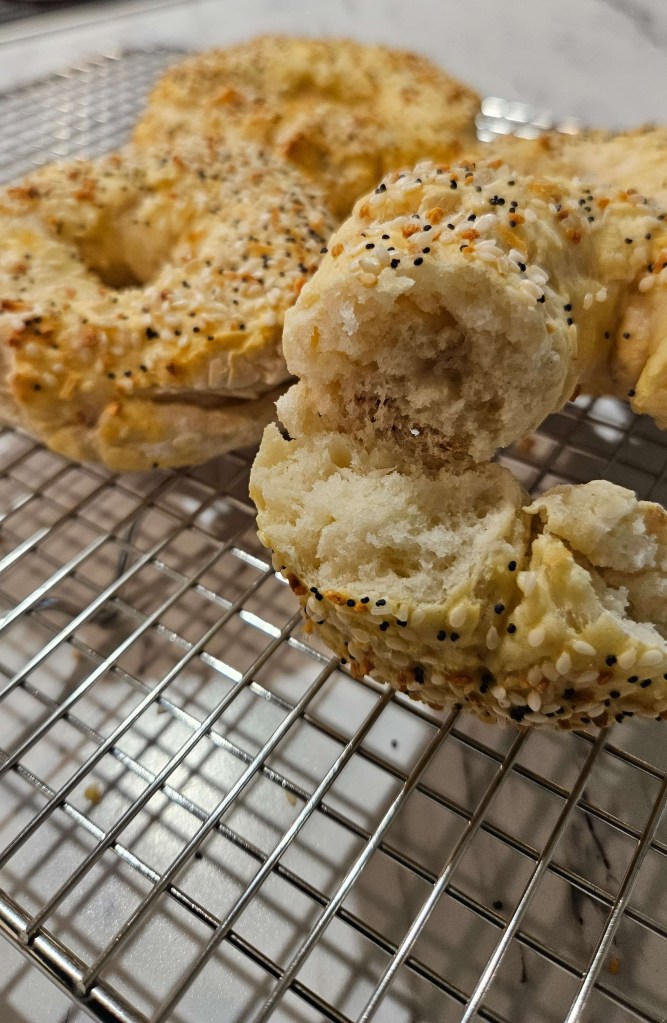
Easy and foolproof 2-ingredient bagel recipe made with Greek yogurt and flour – That is it!
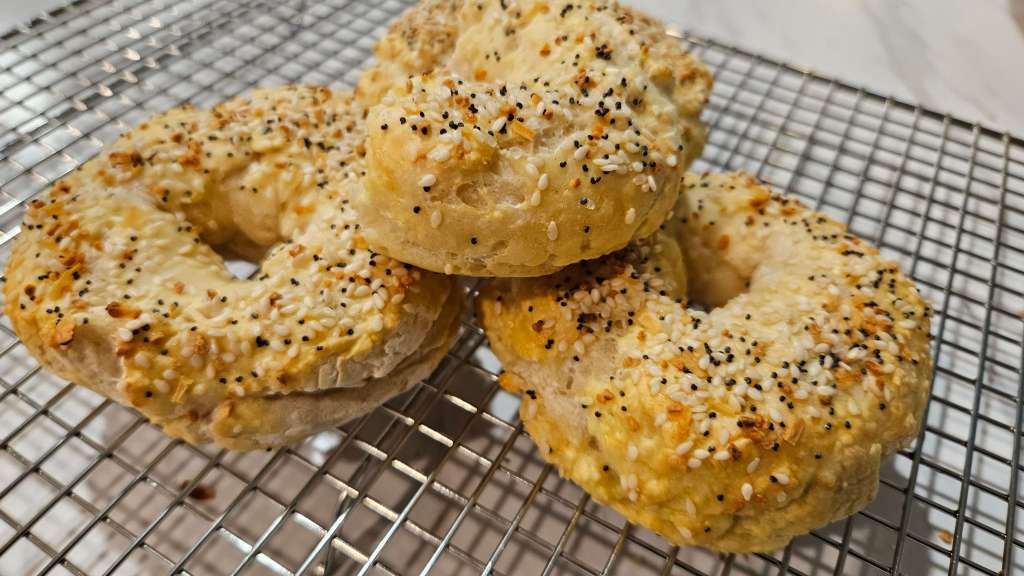
Imagine biting into a warm, freshly baked bagel that’s perfectly golden on the outside and delightfully chewy on the inside – all made with just two simple ingredients! It sounds too good to be true, right? But with this easy, no-fuss recipe, you can create homemade bagels in a fraction of the time it takes to go to the bakery. No yeast, no fancy equipment, and no long hours of kneading—just two basic ingredients that come together to form a dough so simple, yet so satisfying. If you’ve ever wanted to enjoy the magic of homemade bagels without the hassle, this is the recipe for you!
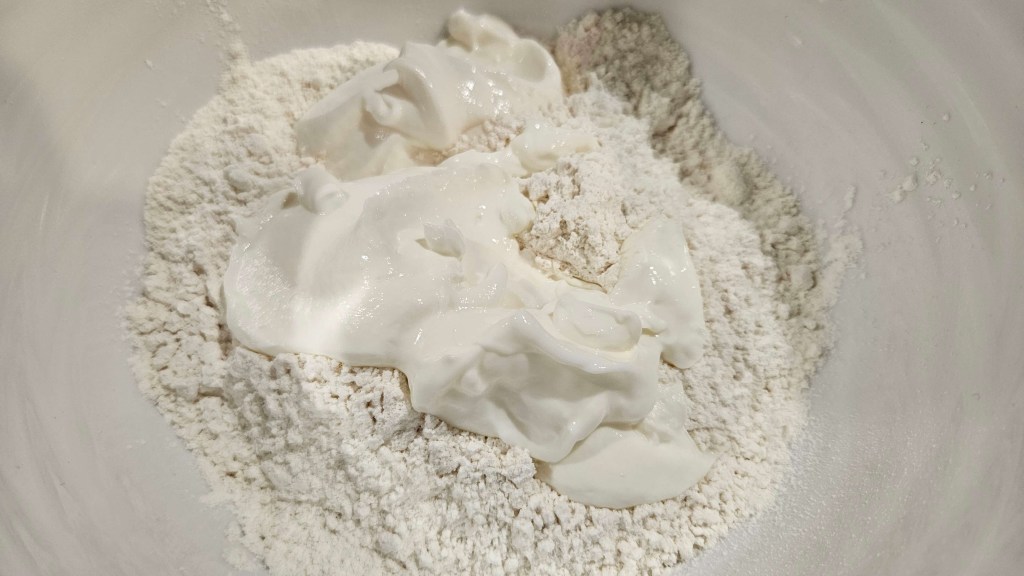
Bagel ingredients: 1 ¼ Cups of Self Rising Flour 1 Cup Plain Greek Yogurt
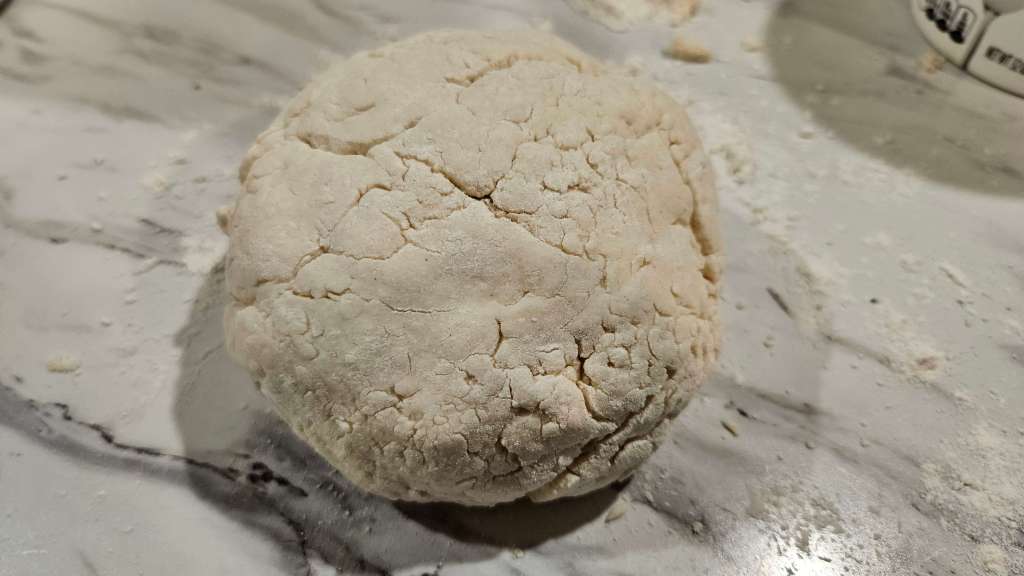
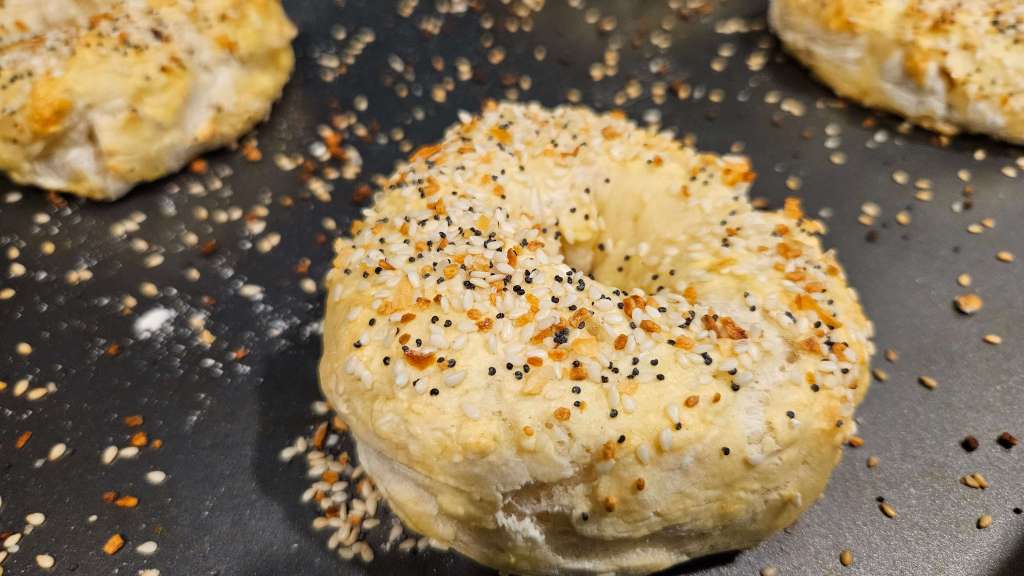
Instructions: 1. Preheat the oven to 180C/350F. Line a baking tray with parchment paper and set aside. 2. In a large mixing bowl, combine your flour and Greek yogurt and mix well, until fully combined and a ball of dough remains. 3. Lightly grease a kitchen surface with extra flour. Place the ball of dough on top, and top with a little extra flour. 4. Slice into 4 even pieces. 5. Use your hands to roll the dough into a thin, sausage shape. Join both ends of the dough to form a bagel shape. Place on the lined tray and repeat until 4 bagels are formed. Lightly brush the tops of each bagel with either butter, egg, milk or water. Sprinkle the seeds on top. (Optional) 6. Bake the bagels for 22-25 minutes, or until golden brown. Remove from the oven and allow to cool completely.
Whether you enjoy them plain, with your favorite spread, or piled high with toppings, these bagels are a perfect reminder that sometimes the simplest recipes are the most rewarding. So the next time you’re craving a fresh, warm bagel but don’t have the time or patience for a complicated recipe, remember this easy two-ingredient trick—because homemade bagels have never been easier or more satisfying!
NOTES:
To store: Place cooked and cooled bagels in a ziplock bag. Bagels generally keep fresh for at least 5 days. You CAN keep them at room temperature, provided you eat them within 3 days.
To freeze: Either place bagels in ziplock bags individually or all of them together in one bigger bag. Frozen bagels will keep for 6 months.
Meal prepping—it’s a trend that’s taken the world by storm, but is it for you? For some, it’s a lifesaver, making the week smoother with ready-to-go meals and fewer last-minute decisions. For others, the thought of spending hours on a Sunday cooking for the whole week sounds like a chore.
So, do you meal prep or not?
If you do, how has it changed your routine? Does it help you eat healthier, save time, or maybe even reduce food waste? Or do you prefer the spontaneity of cooking as you go, embracing the joy of trying new recipes whenever the mood strikes?
Whatever your answer, meal prepping is all about what works for you. I’d love to hear your take—does the convenience of prepping meals ahead appeal to you, or do you prefer to go with the flow?
Here is what I prepped for breakfast this week. Egg bites (bacon, mushroom, and cheese) Strawberries, and Greek yogurt.
As we turn the page on a brand new year, I want to take a moment to send my warmest wishes to all my friends—thank you for the support that made last year so special to me. Here’s to a year filled with new adventures, unexpected joys, and, of course, lots of love and good food!
Speaking of food, I’m setting a delicious intention for the year ahead—trying more recipes! Whether it’s experimenting with ingredients I’ve never worked with, exploring new cuisines, or just perfecting those comfort food classics, I’m excited to dive deeper into the kitchen this year. I’d love to challenge myself to cook more, bake more, and share the process with all of you.
If you’ve been thinking about trying something new in the kitchen, I encourage you to join me! The new year is the perfect time to explore, whether it’s making a fancy dinner for yourself, testing out homemade bread, or attempting your first soufflé. Don’t worry if it doesn’t come out perfect; it’s all part of the fun and learning. Plus, the best memories are often made around a table with friends, sharing the food you’ve made with your own hands.
Here’s to a year of bold flavors, delicious experiments, and plenty of happy meals shared with those we love. Let’s make 2025 a year to savor, one recipe at a time. Happy New Year to all of you! 🎉✨
What recipes are you looking forward to trying this year? Let’s inspire each other in the kitchen!
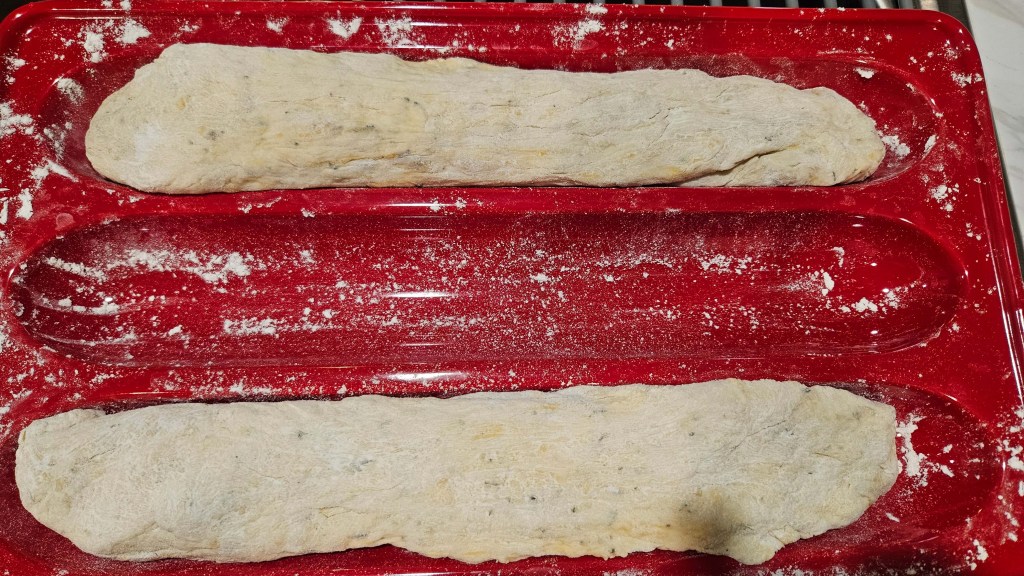
I’m sure some of you remember my post yesterday about the epic-fail bread in my new ceramic pan. Well, after starting my dough this morning and letting it sit all day, it was ready to be made!
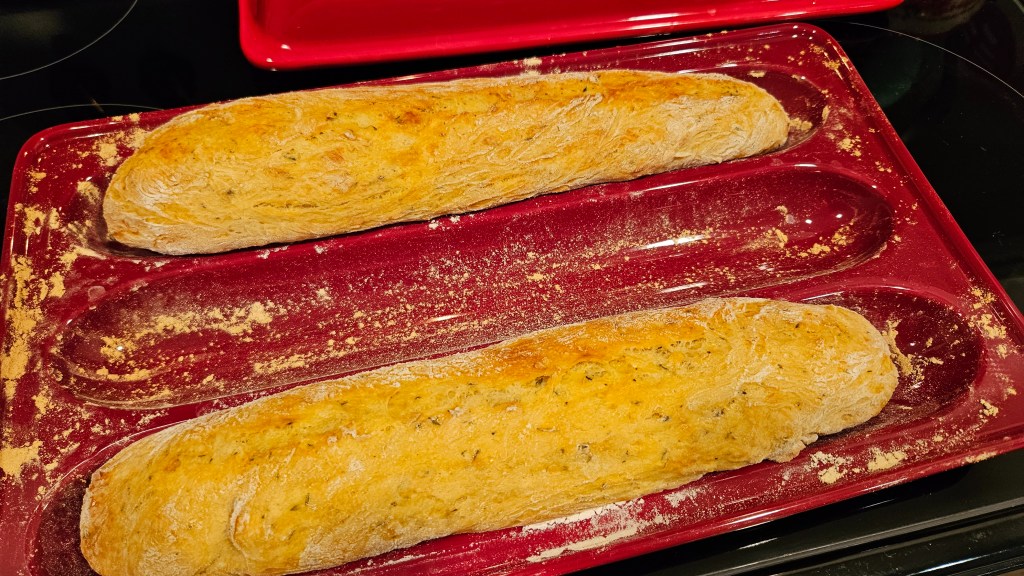
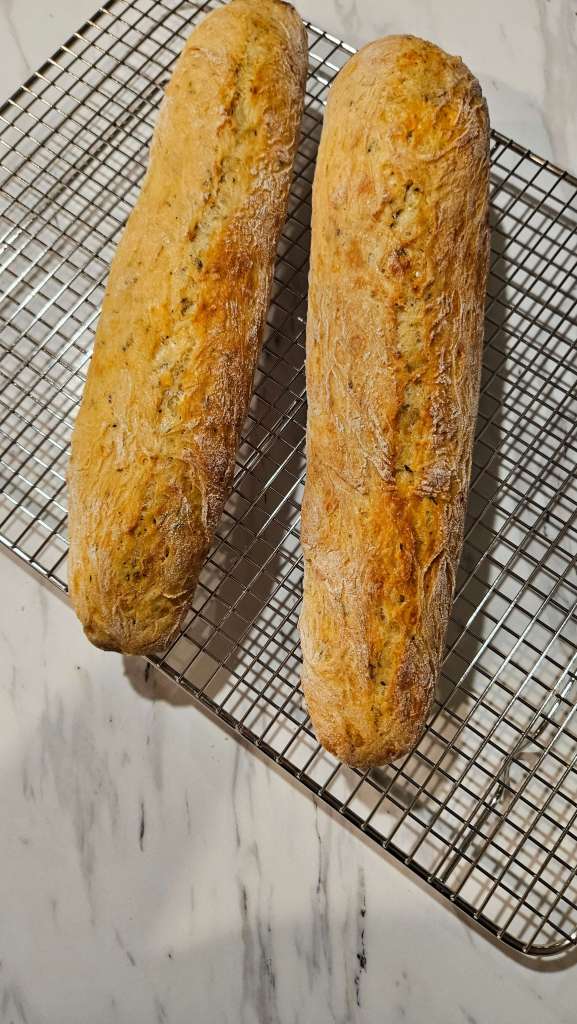
Well guys, here it is! Round 2 using this new ceramic pan. I must say, I made an ever so slight adjustment and wala perfection! See for yourself! I couldn’t be more happy with the outcome!
So, there I was, feeling like an absolute kitchen wizard. My new ceramic bread pan had arrived in all its pristine, glossy glory, and I was ready to bake the perfect loaf of bread. I had visions of golden-brown perfection, soft interiors, and an Instagram-worthy slice that would make my friends ask, “Who’s the baker behind this masterpiece?”
Spoiler alert: It wasn’t me, not today!
My excitement was palpable. I gathered my ingredients—flour, yeast, water, and the most important secret ingredient of all: optimism.
But here’s where the story takes a tragic turn: The ceramic bread pan.
I did everything the instructions said to do, to the T and I mean to the T! Because I had learned the hard way that bread and pans don’t always get along unless they’re properly prepared. I was sure I had done everything right. As I slid the dough into the pan, I thought to myself, “Look at this beautiful loaf. It’s going to be my best one yet!
I placed the pan in the oven, set the timer, and awaited my destiny. The smell of freshly baked bread filled the house, and I started to picture myself slicing through the crispy crust, butter slowly melting on each piece.
But, as all great kitchen disasters go, reality doesn’t always match the dream.
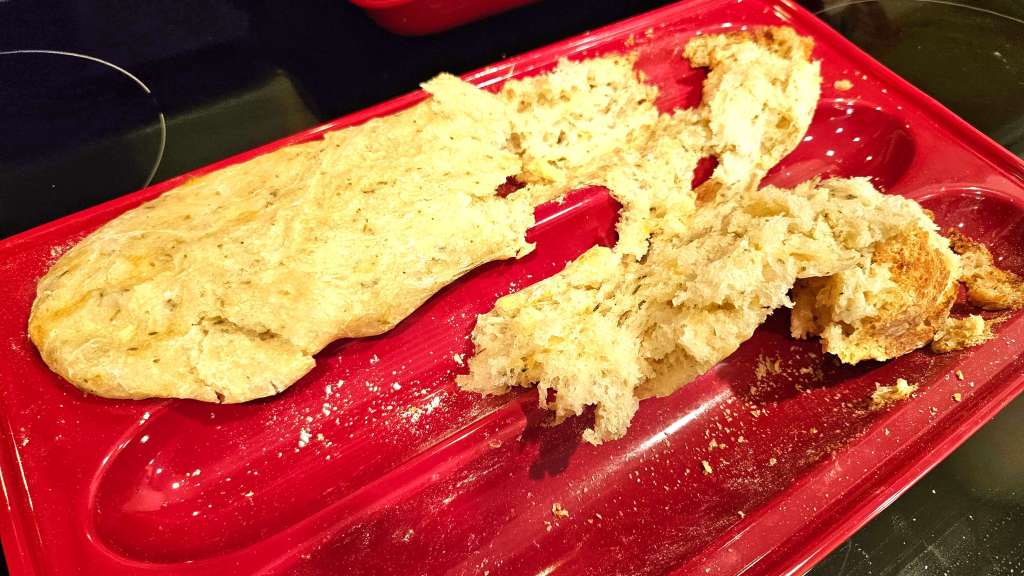
The timer beeped, and I pulled the bread out. The moment I tried to remove the loaf from the pan, I discovered the truth. The bread wasn’t coming out. It was stuck. Stuck like a bad first date. I tried gently coaxing it with a spatula, but it was like the dough had bonded with the ceramic in a way that was… permanent.
I tried running a knife around the edges, thinking I could free it, but no luck. At that moment, I realized I was staring at a loaf of bread that had officially become one with its ceramic home. It had decided to make this pan its permanent residence. I was the outsider here, trying to evict it. The dough had staged a full-on coup.
I resorted to using a spatula to literally scrape the loaf out. When I finally freed the bread (or what was left of it), it had a slightly tragic shape—more “abstract loaf” than “artisan bread.”
As I stood there, holding my sad, misshapen, slightly scorched loaf of bread, I realized one thing:
Ceramic bread pans are great… until they’re not.
Lesson learned: bread may rise, but sometimes it rises in the wrong places… like inside the ceramic pan you can never get it out of.
There’s something truly magical about the combination of peanut butter and chocolate, and Peanut Butter Blossom Cookies capture that perfect balance in every bite. With a soft, chewy peanut butter cookie base coated in sugar and topped with a Hershey’s Kiss, these cookies are an irresistible treat that’s both sweet and salty. Whether you’re baking for the holidays, a special occasion, or just because, these classic cookies are sure to please everyone around the table. Simple to make, yet full of flavor, Peanut Butter Blossom Cookies are the ultimate comfort dessert for any time of year!
Here are the ingredients you’ll need:
Nonstick cooking spray 2 3/4 cups all-purpose flour 1 1/4 teaspoons baking soda 1/2 teaspoon fine salt 1 cup smooth peanut butter 12 tablespoons (1 1/2 sticks) unsalted butter, at room temperature 1/4 cup vegetable shortening 1 3/4 cups packed light brown sugar 2 large eggs 1 tablespoon vanilla extract 48 to 60 chocolate kiss candies (depending on the size you make)
Directions
1. Adjust the oven racks to the upper and lower thirds and preheat the oven to 375 degrees F. Coat 2 baking sheets with cooking spray (I used my silicone baking mats)
2. Combine the flour, baking soda, and salt in a medium bowl. Set aside.
3. Beat the peanut butter, butter, and shortening in a large bowl with an electric mixer on medium-high until smooth, about 1 minute. Add the brown sugar and continue to beat until light and fluffy, about 4 minutes. Add the eggs and vanilla and continue to beat until incorporated. Add the flour mixture in two batches and beat on medium until incorporated.
4. Scoop out level tablespoons of dough, roll them into balls, and space about 2 inches apart on the prepared baking sheets. (You will need to bake the cookies in batches; allow the baking sheets to cool between batches.)
5. Bake until the bottoms and edges of the cookies are golden brown but the middles are still soft about 10 minutes. (The cookies will bake a bit after they come out of the oven). Indent the warm cookies with a chocolate kiss candy.
6. Allow the cookies to cool on the baking sheet for a few minutes and then transfer to a rack to cool completely.
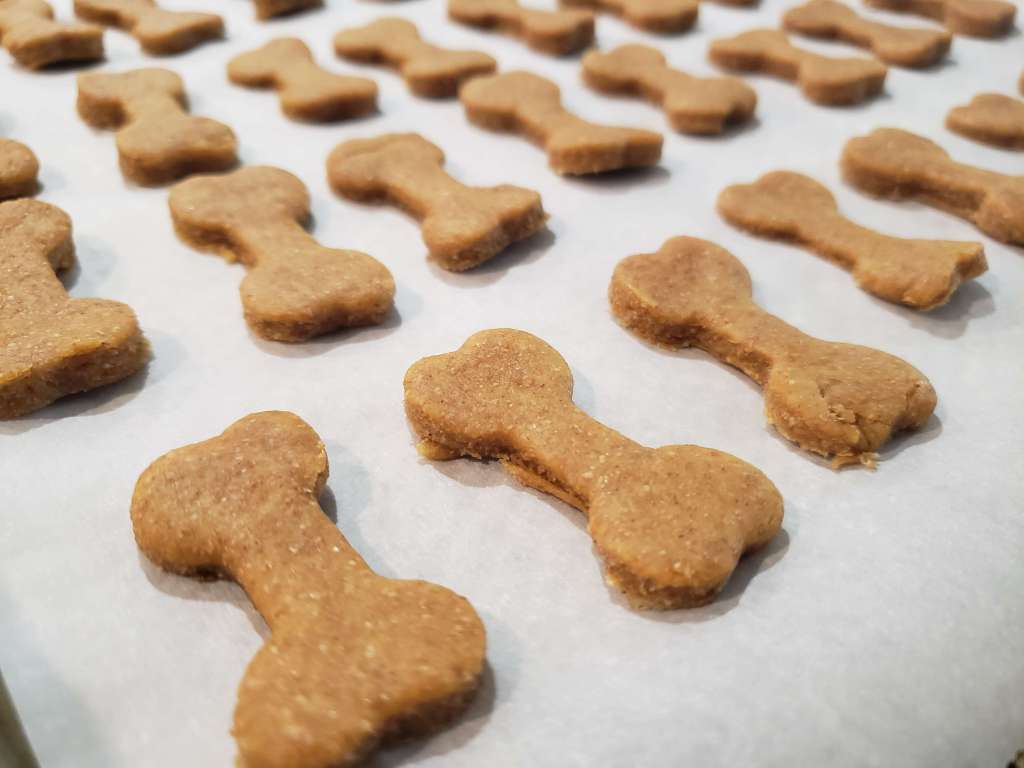
I think you would agree that your fur babies are an important part of your family, so why not make them homemade treats too?! These are as easy to make as cookies (actually easier) and made with the simplest ingredients that your dog(s) will definitely give them 2 paws up!
Here’s what you need to make these delicious treats!
Whole Wheat Flour – Whole wheat flour is packed with nutrients for your pup, like fiber, protein, and antioxidants. You can use all-purpose flour in a pinch, but it won’t provide as many nutrients.
Eggs – Eggs are great for dogs and add protein, fatty acids, and vitamins to their diet.
Canned Pumpkin – Make sure you get pure pumpkin puree and not pumpkin pie filling. The pumpkin pie filling can have added ingredients, like sugar, which isn’t great for dogs.
Peanut Butter – Use natural peanut butter or double-check the ingredients and make sure the peanut butter doesn’t contain Xylitol, which can be harmful to dogs.
Salt – The salt will help the treats’ flavor — and it’s perfectly safe for dogs in moderation.
Cinnamon – Not only does cinnamon give the treats a delicious flavor, but also it can provide some great nutritional benefits (like antioxidants, anti-inflammatory properties, and better heart health).
Water – This optional step will keep the dog treats together and make it more workable for you.
List of ingredients:
2 ½ cups whole wheat flour
2 large eggs
½ cup canned pumpkin
2 tablespoons peanut butter
½ teaspoon salt
½ teaspoon ground cinnamon
1 teaspoon water, or more if necessary (Optional)
Step 1: Simply combine all your ingredients in a bowl or stand mixer. Then transfer the mixture to a work surface and work it with your hands until a dough has formed.
Step 2: Roll out the dough and either cut it into strips or stamp it with your favorite cookie cutters.
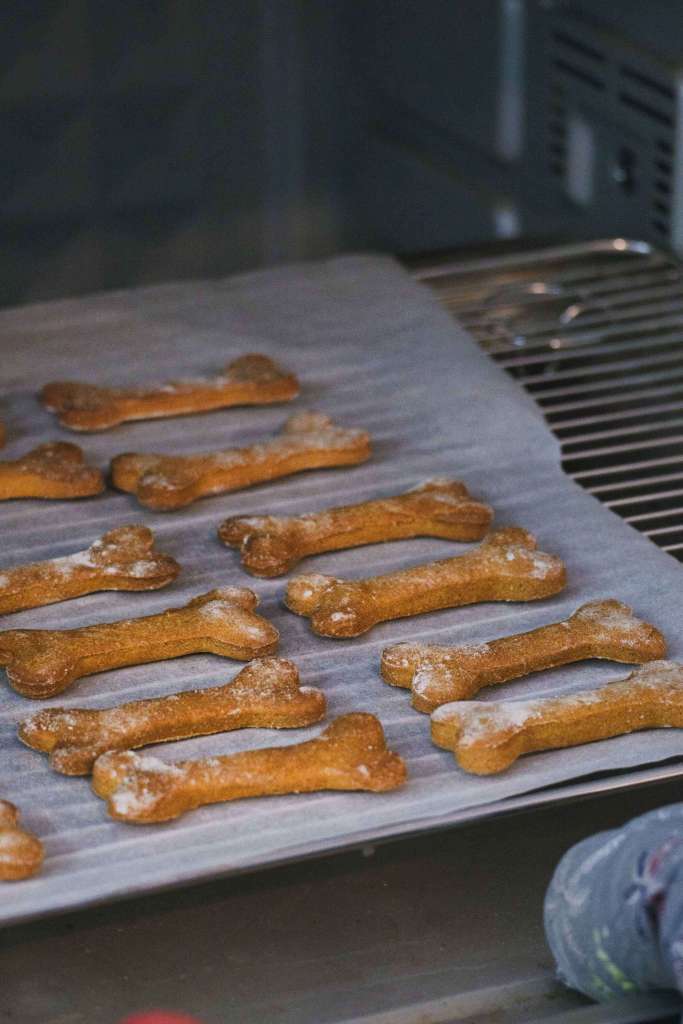
Step 3: Bake at 350 degrees F for 40 minutes, until crunchy. Make sure to wait until they are completely cool before giving it to your dog.
Simple ingredients, Simple recipe = VERY HAPPY DOGS!