Homemade Dog Treats (Pumpkin & Peanut Butter)

I think you would agree that your fur babies are an important part of your family, so why not make them homemade treats too?! These are as easy to make as cookies (actually easier) and made with the simplest ingredients that your dog(s) will definitely give them 2 paws up!
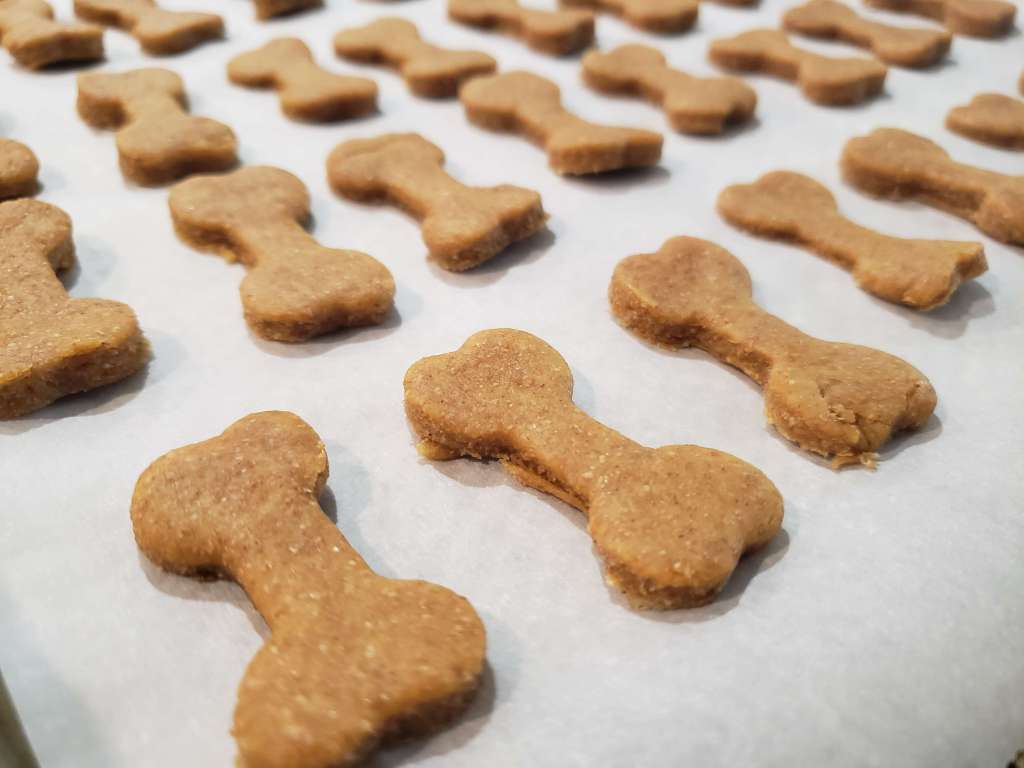
Here’s what you need to make these delicious treats!

Whole Wheat Flour – Whole wheat flour is packed with nutrients for your pup, like fiber, protein, and antioxidants. You can use all-purpose flour in a pinch, but it won’t provide as many nutrients.

Eggs – Eggs are great for dogs and add protein, fatty acids, and vitamins to their diet.

Canned Pumpkin – Make sure you get pure pumpkin puree and not pumpkin pie filling. The pumpkin pie filling can have added ingredients, like sugar, which isn’t great for dogs.

Peanut Butter – Use natural peanut butter or double-check the ingredients and make sure the peanut butter doesn’t contain Xylitol, which can be harmful to dogs.

Salt – The salt will help the treats’ flavor — and it’s perfectly safe for dogs in moderation.

Cinnamon – Not only does cinnamon give the treats a delicious flavor, but also it can provide some great nutritional benefits (like antioxidants, anti-inflammatory properties, and better heart health).

Water – This optional step will keep the dog treats together and make it more workable for you.

List of ingredients:

  • 2 ½ cups whole wheat flour
  • 2 large eggs
  • ½ cup canned pumpkin
  • 2 tablespoons peanut butter
  • ½ teaspoon salt
  • ½ teaspoon ground cinnamon
  • 1 teaspoon water, or more if necessary (Optional)

Step 1: Simply combine all your ingredients in a bowl or stand mixer. Then transfer the mixture to a work surface and work it with your hands until a dough has formed.

Step 2: Roll out the dough and either cut it into strips or stamp it with your favorite cookie cutters.

Step 3: Bake at 350 degrees F for 40 minutes, until crunchy. Make sure to wait until they are completely cool before giving it to your dog.

Simple ingredients, Simple recipe = VERY HAPPY DOGS!

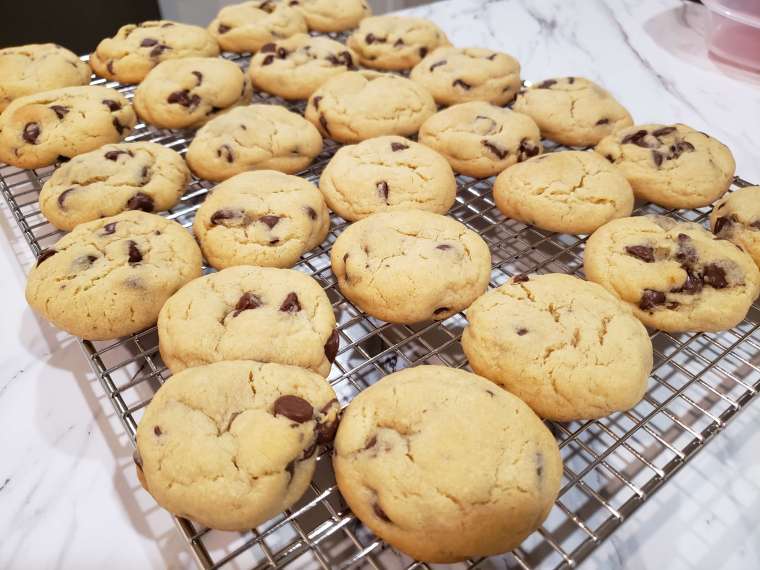
Chocolate Chip Cookies (The yummiest!)

If you’re looking for a simple, straightforward recipe for the most delicious chocolate chip cookies, then you’re in the right place! 

These are everything a chocolate chip cookie should be, crisp and chewy, buttery, and sweet. And, by far the easiest and yummiest chocolate chip cookies I’ve made to date!

Here is a list of ingredients that you’ll need:

1 Cup salted butter – Softened
1 Cup White Sugar (Granulated)
1 Cup Light Brown Sugar (Packed)
3 Cups all-purpose flour
2 ½ tsp. pure vanilla extract
2 Large eggs
1 tsp. Baking soda
½ tsp. Baking powder
1 tsp. Salt (fine sea salt)
2 Cups chocolate chips (or chopped chocolate)

INSTRUCTIONS

1. Preheat over to 375 F. Line a baking sheet with parchment paper and set aside.
2. In a small bowl, mix flour, baking soda, baking powder, and salt. Stir well. Set aside
3. Cream together BOTH sugars and butter until well combined.
4. Beat in eggs (one at a time) and vanilla until fluffy
5. Mix in dry ingredients until well combined.
6. Add chocolate chips and mix well.
7. Roll 2-3 Tbs. (this will depend on how big you want your cookies) of dough at a time into balls and put them evenly spaced onto the cookie sheet. (I used a small ice cream scoop for the perfect and most uniform shape)
8. Bake in a preheated oven for 8-10 minutes. Take them out when they BARELY start to turn brown. DO NOT over-bake these, even though they may seem under-baked.
9. Let them sit on the baking sheet for 2 minutes before transferring them to a cooling rack.

Hibachi Fried Rice – Instant Pot Recipe

Have you been to those restaurants where they cook on a hibachi grill in front of you? The experience is always quite amusing and the food is normally so delicious. The rice is my favorite part of the food (gosh, I love rice, feed me NOW!) So, I’ve created my own hibachi fried rice. Now you can save all the money and make it at home and I assure you, it will taste even better. Trust me! The great thing about this recipe (and pretty much ANY other recipe) is that you can take out anything you don’t like and add some stuff that you do!

Here is the basic list of ingredients you’ll need: You could just use a small bag of frozen mixed vegetables on the vegetables. I personally don’t care for the taste of frozen peas or carrots, however, that would be a little easier!

2 Cups White Rice (Rinsed)
2 Cups Cold water or broth
½ Cup Diced Carrots
½ Cup Corn
½ Cup Peas 
1 small Onion
1 Cup Diced Andouille Sausage (optional)
3 (or more) Eggs (I added 4 as I love extra eggs in mine!)
4 Tbs. Soy Sauce (I used low sodium soy sauce)
2 Tbs. Sesame Oil
Salt and Pepper to taste

Step 1: Rince the rice until the water turns clear. This should take about 1-2 minutes. Once finished add to the Instant Pot. DO NOT skip this step, if you do the rice will come out mushy.

Step 2: Add 2 cups cold water or broth. 

Step 3: “Pressure cook” on high for 3 minutes, allow a 10-minute natural release. Once that’s done, do a quick release. Fluff the rice with a fork and transfer it to a bowl.

Step 4: Add 2 Tbs. Sesame oil to the pot. Add the onion, mixed veggies, and sausage(if you’re using it) Cook until veggies are tender.

Step 5: Move the veggies to one side and add the eggs, stir them constantly until they begin to scramble. Once the eggs begin to cook, mix them in with the veggies until they are done. 

Step 6: Add the rice back in and stir until it’s mixed well.

Step 7: Add the soy sauce and stir until everything is evenly mixed.

Mmmmmm, enjoy! 

Oh, and don’t forget to ADD THE SALT!

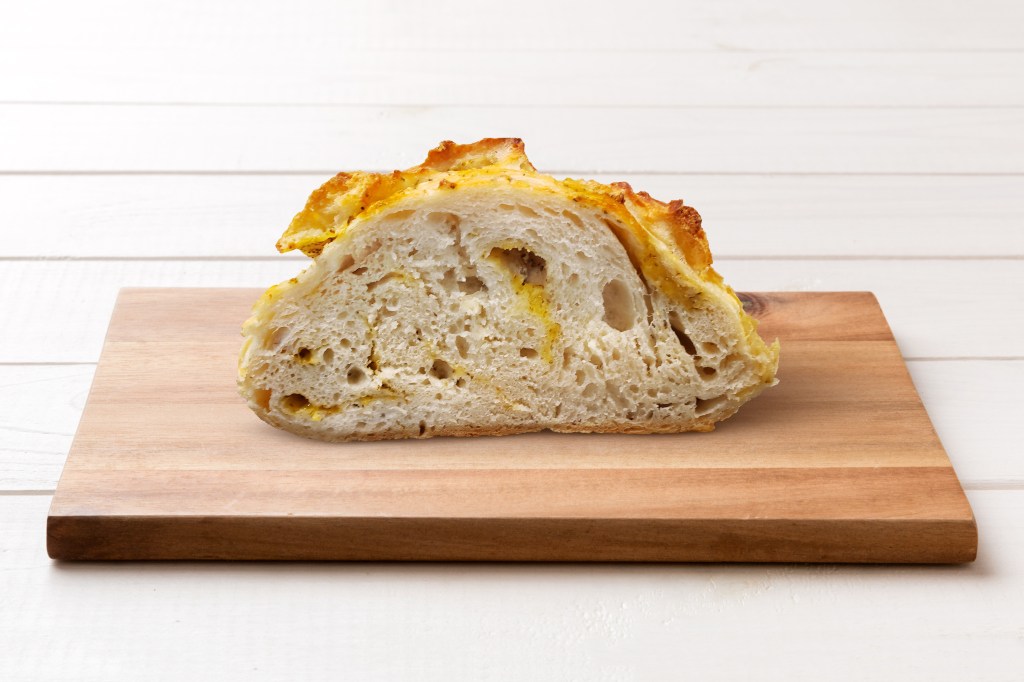
EASY no knead cheese and herb artisan bread! Like seriously scrumptious!

Making homemade fresh bread has never been so easy! This is by far the best and easiest no-knead bread I’ve ever made, and trust me, I’ve made a lot of bread over the past several months. I’ve not had much luck with the recipes that I’ve tried, but I’ve been tweaking and experimenting, and let me just say, wow, it’s incredible! 

This recipe is simple; you just mix the ingredients and let it sit in a bowl for 3 to 18 hours. I left mine anywhere from 6 to 10 hours before. This is a very flexible recipe and should help with the busy schedules we tend to have!

There are only 4 main ingredients for this recipe, plus the cheese and herbs of course!

Flour – I actually used bread flour, but all-purpose will work too!

Salt – Don’t forget this one!

Active Dry Yeast – you don’t need much, and it’s important to make sure your yeast isn’t expired!

Hot Water – Between 95°F- 110°F

Cheddar Cheese – You can use whatever cheese you like, but I prefer cheddar cheese, yummy!

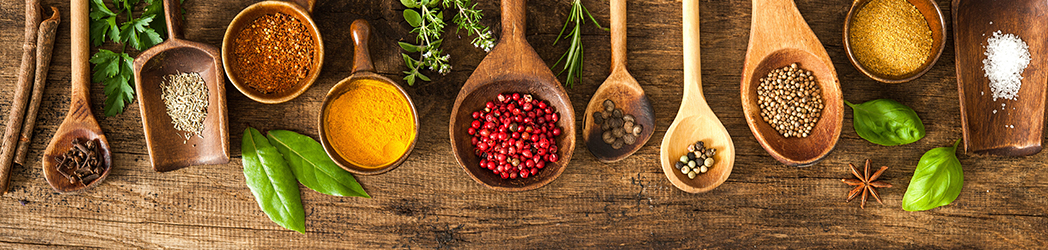
Herbs – I used rosemary and thyme in mine, but you can use what you prefer. You really can’t go wrong here.

Here are the ingredients that you’ll need:

  • 3 Cups – Bread flour or All purpose flour (I used bread flour) (plus some for dusting)
  • 2 Tsp. – Salt
  • 2 Tsp. – Dry active yeast
  • 1 ¾ Cups – Warm water 95F-110F
  • 1/2 – 1 Cup – shredded cheddar cheese (Optional) I’ve made this recipe with or without it
  • 1 Tsp. – Thyme (more or less, depending on your taste) (or your choice of herbs)
  • 1/2 Tsp. – Rosemary (more or less, depending on your taste) (or your choice of herbs)

Here are the steps to make this no-knead cheese and herb bread.

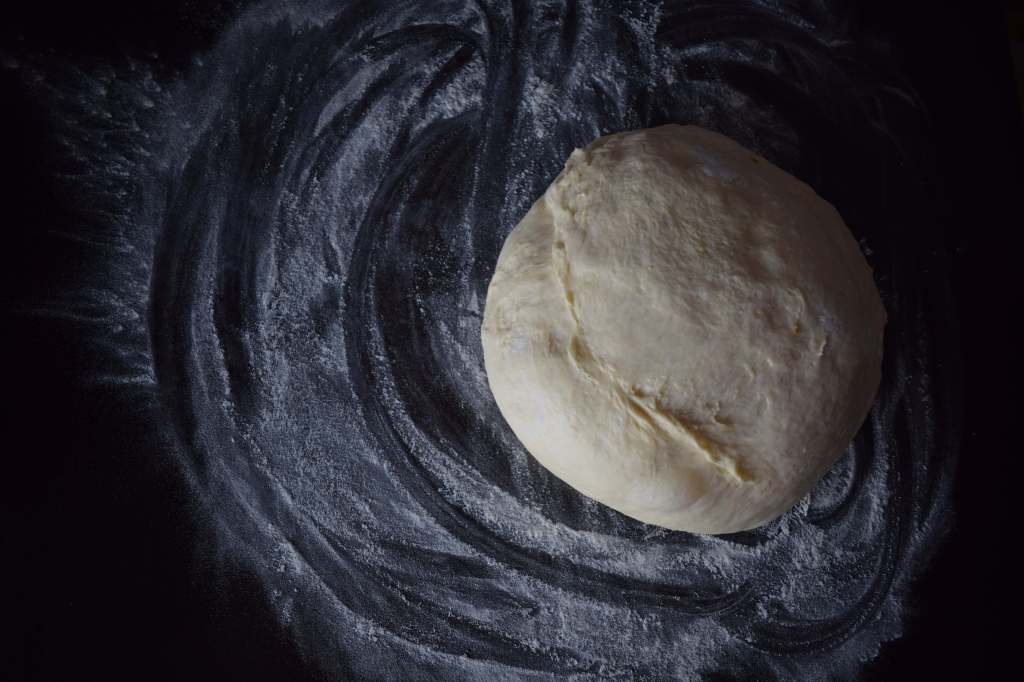
Step one: In a large bowl stir together flour, salt, cheese, rosemary, and thyme. Give it a quick stir and then add the yeast. (Salt slows down the yeast, so I wouldn’t have them in direct contact) Add in the water and mix thoroughly. The dough should be sticky. 

Step Two: Cover the bowl and let it sit on the counter to rest for 3-10 hours or for up to 18 hours. You want the dough to double in size and start to have small bubbles on top.

Step Three: Once your dough has rested, place your Dutch oven in the oven to preheat at 450F

Step Four: While your Dutch oven is preheating, flour your work surface and remove the dough from the bowl. Shape into a ball, put onto some parchment paper, cover with a towel, and let rest until the oven is ready. 

Step Five: Once the oven is ready, place the parchment paper with the dough into the Dutch oven, using a knife, make a slice on the top of the dough ball. This will help it expand, plus it makes it look so much nicer! Cover and bake for 30 minutes

Step Six: After 30 minutes, remove the top from the Dutch oven and bake for another 15 minutes. 

If you don’t have a Dutch oven, do not worry! Just place a pan of water at the bottom of your oven to create a steamy environment. Use a cast-iron pan or a ceramic heat-proof dish. After 15 minutes, take the pan of water out and let it continue to cook until golden brown.  ENJOY!

There are 3 different ways to tell if your bread is done. 

  1. Using a thermometer, most bread is done when the internal temperature reaches 190F
  2. Give the bottom a few taps; if it sounds hollow, it’s done.
  3. Color. The crust, for the most part, should be dry and firm, and a deep golden brown color. If it’s still rather pale, give it a few extra minutes.