-
Do you meal prep?
I have a question for you today…
Do you meal prep?
I’ve been thinking about how much easier life can feel when we take a little time to prepare ahead. Not because everything needs to be perfectly organized, but because sometimes giving ourselves a head start is one of the simplest ways to make the day a little easier.
I recently did a little breakfast meal prep, and honestly, there is something satisfying about opening the refrigerator and already having breakfast waiting for you.
No rushing around trying to figure out what to eat. No standing in the kitchen half awake wondering what sounds good. Just something ready to grab and enjoy. Especially for me when I leave before 6am!
And I think meal prepping can look different for everyone. Maybe you prepare all your meals for the week. Maybe you just prep breakfast. Maybe you chop a few vegetables, cook some protein, or make something ahead for those especially busy days.
Or maybe you don’t meal prep at all.
I’m curious what works for you.
Do you meal prep? If you do, what is your favorite thing to prepare ahead of time? And if you don’t, what usually keeps you from doing it?
I’d love to hear your thoughts, your favorite meal prep ideas, and maybe even discover something new to try.
Here is my breakfast meal prep. Eggs (mixed with egg whites) spinach, bacon, cheese and hash browns.
Happy Sunday my friends ❤️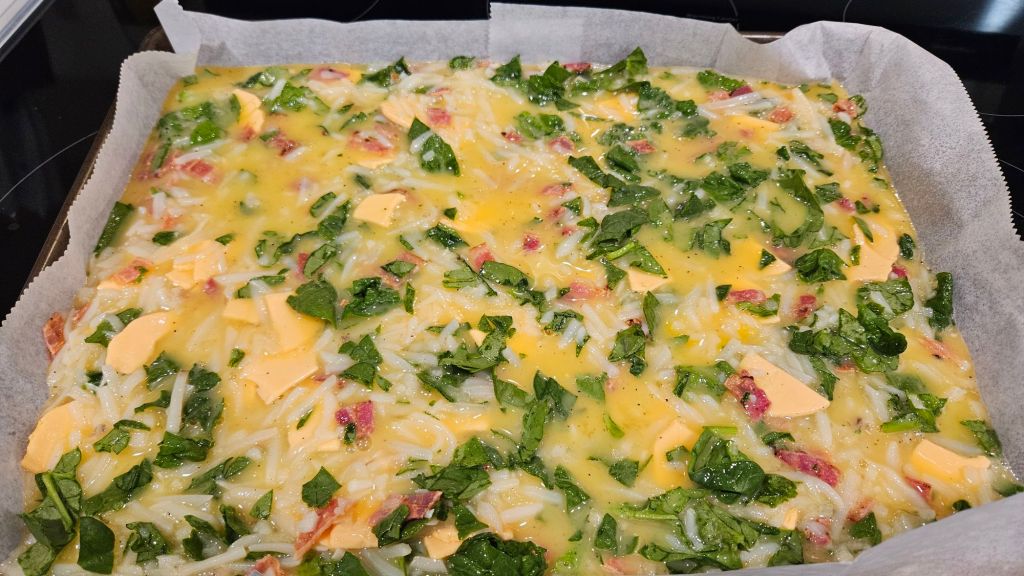
-
What’s for dinner?
It’s the question I somehow find myself asking every single day…
What’s for dinner?
Some days, I have a plan. I know exactly what I’m making, I have everything I need, and I’ve even remembered to take something out of the freezer ahead of time.
Then there are the days when dinner sneaks up on me and I’m standing in front of the refrigerator hoping something inspires me.
Tonight, I’m keeping things simple. The weather is absolutely gorgeous, so I’m taking advantage of it and having burgers on the grill.
Nothing fancy. Just an easy dinner and a beautiful evening.
It got me thinking about how different dinner can look from one night to the next. Sometimes I feel like making something from scratch and spending a little extra time in the kitchen. Other nights, I want something quick and easy. And yes, there are definitely nights when takeout sounds like the best idea I’ve had all day.
I don’t think dinner always needs to be complicated. Sometimes the simplest meals are the ones I enjoy the most.
So tonight, while I’m enjoying my burger and this beautiful weather, I want to know…
What’s for dinner at your house tonight?
Are you making an old favorite, trying something new, eating leftovers, ordering takeout, or still trying to figure it out?
Tell me what’s on your menu. I could always use a little inspiration for tomorrow!
And whatever you’re making, don’t forget to Add The Salt.

-
Easy Focaccia Bread
There’s something undeniably comforting about pulling a pan of freshly baked focaccia from the oven. Its golden, olive oil-kissed crust crackles beneath your fingertips, while the inside stays irresistibly soft, light, and airy. This recipe is one I come back to again and again because it’s simple enough for a weeknight baking project yet impressive enough to serve alongside a special meal. Whether you enjoy it dipped in olive oil, piled high with sandwich fillings, or simply warm with a sprinkle of flaky sea salt, this homemade focaccia is the kind of bread that fills your kitchen with incredible aromas and brings everyone to the table.

Ingredients
For the dough:
- 4 cups (500 g) bread flour (or all-purpose flour)
- 2 tsp (7 g) instant yeast
- 2 tsp (10 g) fine salt
- 1¾ cups (420 ml) warm water
- 2 tbsp extra-virgin olive oil
For topping:
- 3–4 tbsp extra-virgin olive oil
- Flaky sea salt
- 1–2 tsp fresh rosemary, chopped (optional)
Instructions
- Mix the dough.
- In a large bowl, combine the flour, yeast, and salt.
- Add the warm water and olive oil.
- Stir until no dry flour remains. The dough will be very sticky.
- First rise.
- Cover the bowl and let the dough rise for 1½–2 hours at room temperature, until doubled.
- Prepare the pan.
- Generously coat a 9×13-inch baking pan with 2 tablespoons of olive oil.
- Transfer the dough to the pan and gently stretch it toward the corners.
- If it springs back, let it rest for 10–15 minutes, then stretch again.
- Second rise.
- Cover and let the dough rise for 30–45 minutes until puffy.
- Dimple and top.
- Drizzle the remaining olive oil over the dough.
- Oil your fingertips and press deep dimples all over the surface.
- Sprinkle with flaky sea salt and rosemary.
- Bake.
- Preheat the oven to 425°F (220°C).
- Bake for 22–28 minutes, until the top is deep golden brown.
- Cool.
- Let the focaccia cool in the pan for about 10 minutes.
- Transfer to a wire rack and cool another 10–15 minutes before slicing.
Tips
- For even more flavor and a lighter texture, refrigerate the dough overnight after mixing, then let it come close to room temperature before shaping.
- Don’t skimp on the olive oil; it gives focaccia its signature crisp, flavorful crust.
- Great topping ideas include sliced cherry tomatoes, caramelized onions, olives, roasted garlic, grated Parmesan, or everything bagel seasoning.

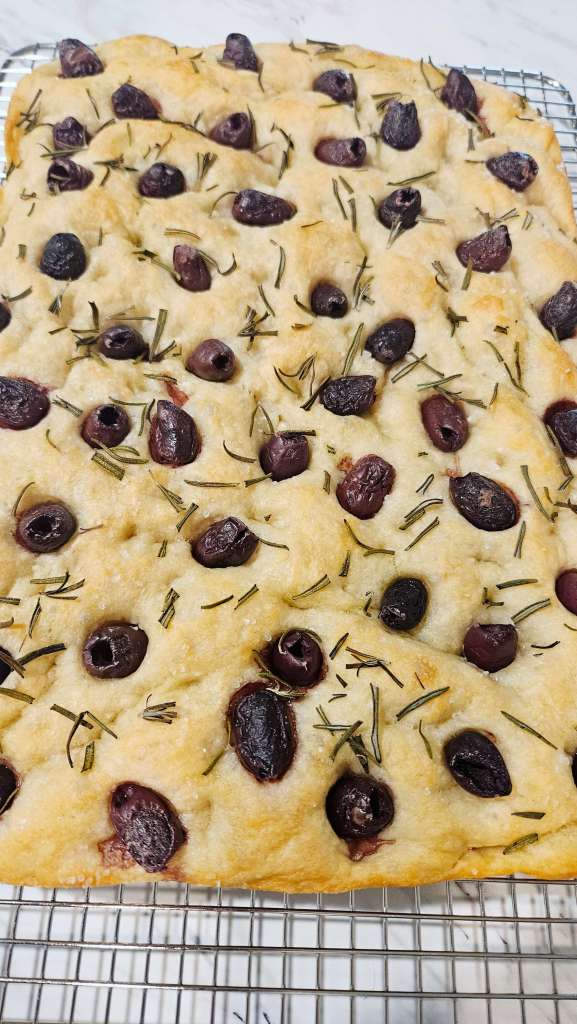
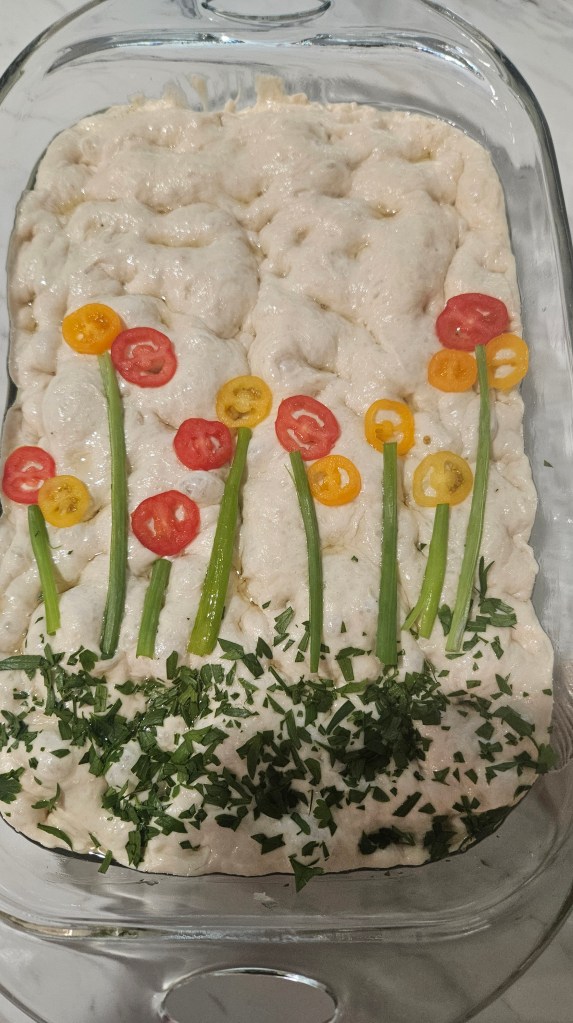
I hope this focaccia recipe becomes a favorite in your kitchen just as it has in mine. Baking bread from scratch is one of life’s simplest pleasures, and this recipe proves that incredible homemade bread doesn’t have to be complicated. If you give it a try, I’d love to hear how it turned out and what toppings you chose; every loaf has its own delicious personality! Happy baking, and don’t forget to save this recipe for the next time you’re craving warm, freshly baked bread.
-
Tortilla Pizza (Easy & Delicious)
There’s something comforting about making yourself a little homemade lunch in the middle of the day. This tortilla pizza keeps things simple with a crispy golden crust, melted cheese, and toppings layered together in the easiest, most satisfying way. It comes together in minutes, feels cozy without the effort, and somehow turns an ordinary lunch into something that feels a little special.

Ingredients
- 1 large tortilla
- Shredded cheese (mozzarella or a blend works best)
- Turkey pepperoni, sliced
- Salami, sliced or cut into small pieces
- Thinly sliced onions
- Black olives, sliced
- Optional: a drizzle of olive oil or a sprinkle of Italian seasoning for extra flavor
Instructions
- Preheat your oven to 425°F and line a baking sheet with parchment paper.
- Place the tortilla flat on the baking sheet.
- Evenly sprinkle a generous layer of shredded cheese over the tortilla.
- Add turkey pepperoni, salami, sliced onions, and black olives on top of the cheese.
- Bake for 8 minutes, or until the edges are golden and crispy and the cheese is fully melted and bubbling.
- Remove from the oven and let it cool for a minute or two before slicing.
- Slice and enjoy while warm and crisp.


And maybe that’s the charm of it. No sauce, no fuss, just simple ingredients doing their quiet, delicious work together. It’s the kind of lunch you can make when you’re short on time but still want something that feels like care, something warm and a little indulgent in the middle of an ordinary day.
-
Homemade Greek Yogurt
If you’ve ever wanted to make your own yogurt at home, you’re in for a surprisingly simple and rewarding experience. Homemade yogurt is creamy, fresh, and completely customizable, whether you like it thick and tangy or smooth and mild. With just a few basic ingredients and a little patience, you can create a wholesome staple that’s perfect for breakfast, snacks, smoothies, or cooking. Once you try making yogurt from scratch, you might never want to go back to store-bought again. I know I haven’t!
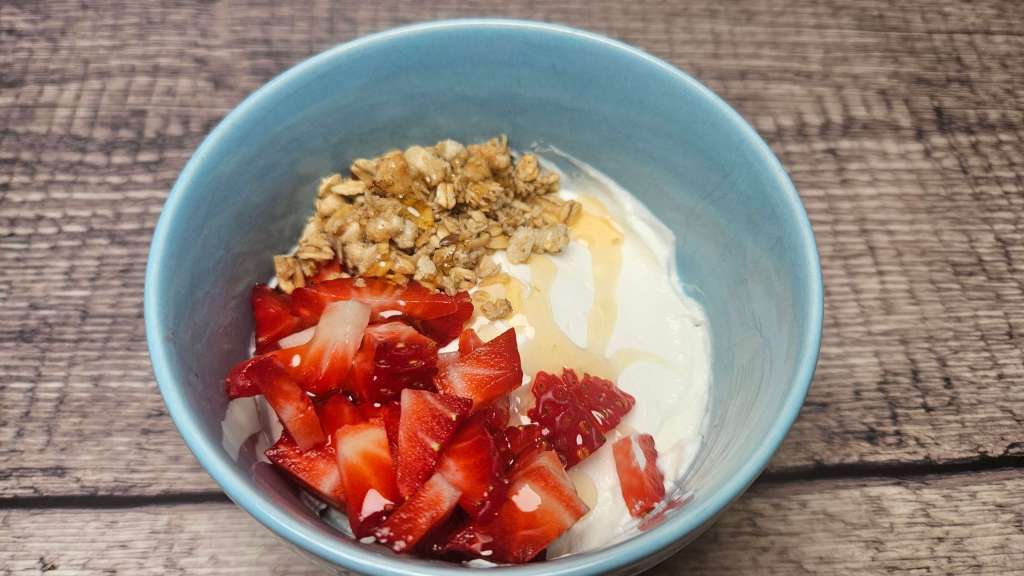
Ingredients:

1 gallon (3.8 L) milk (whole milk gives the creamiest result)
¼ cup plain yogurt with live cultures (starter)
Good starter yogurts include brands like Fage, Chobani, or Stonyfield Organic.
Instructions:
1. Heat the milk
Pour the entire gallon of milk into the Instant Pot inner pot.
Press Yogurt → Adjust until it says “Boil.”
Let it heat to about 180°F (82°C).
Usually takes 35–45 minutes with a full gallon.
2. Cool the milk
Let the milk cool to 110–115°F (43–46°C).
Speed it up by placing the inner pot in a sink with cold water and stirring occasionally.
3. Add the starter
In a small bowl mix:
¼ cup yogurt starter
about 1 cup of the warm milk
Whisk until smooth.
Stir this mixture back into the pot.
4. Incubate
Put the inner pot back in the Instant Pot.
Press Yogurt and set time to 8–10 hours.
8 hours: mild yogurt
10–12 hours: tangier yogurt (I did mine for 11 hours)
Do not move or stir while incubating.
5. Refrigerate
Chill for at least 4 hours to fully thicken.
Optional: Make Greek Yogurt
Strain the yogurt through cheesecloth or a yogurt strainer for 2–4 hours in the fridge. The longer you strain, the thicker it gets. I actually used a strainer lined with coffee filters and set that in a bowl.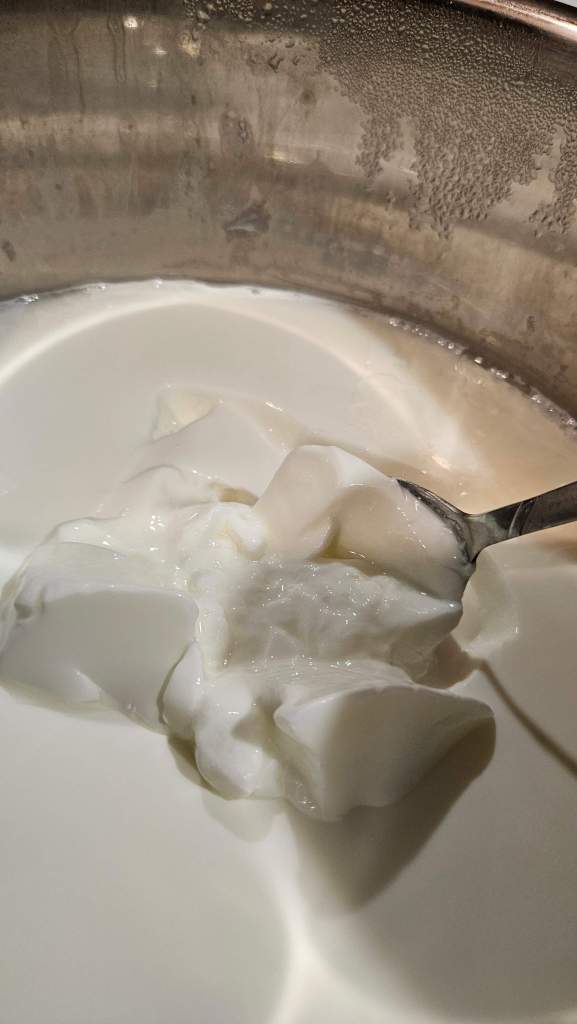
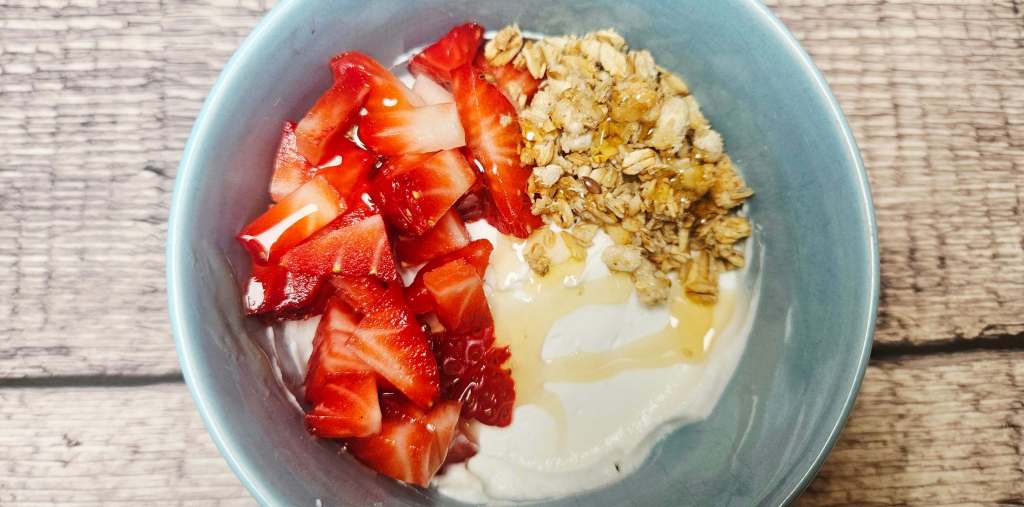
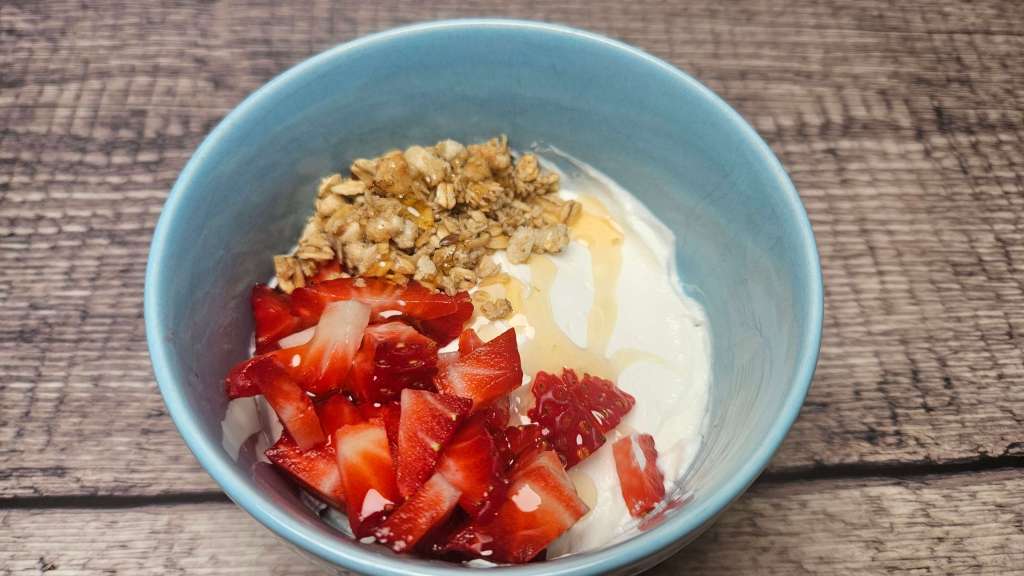
I hope this recipe inspires you to try homemade Greek yogurt. It’s easier than you might think and much more rewarding than anything you’ll find at the store. Once you’ve mastered it, feel free to get creative with flavors and toppings. There’s no better way to enjoy something both wholesome and delicious, made right in your own kitchen. Happy cooking, and I’d love to hear how yours turns out!
-
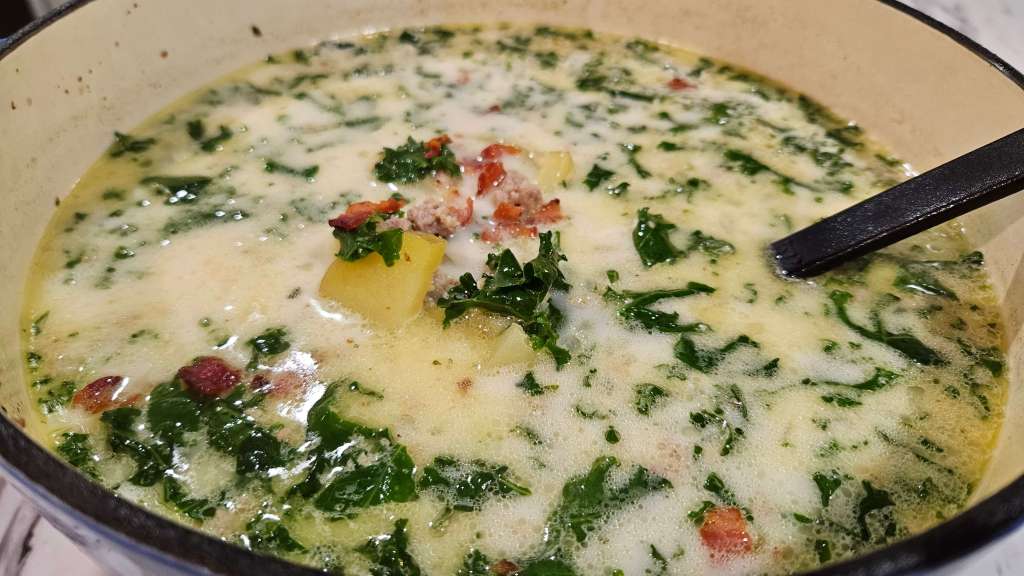
Zuppa Toscana (Olive Garden Copycat)
Zuppa Toscana is the kind of soup that makes you slow down at the first spoonful. A creamy, savory broth carries tender potatoes, hearty Italian sausage, and ribbons of kale, all infused with garlic and onion until the flavors melt together. It’s rustic yet indulgent, warming from the inside out, and perfect for nights when comfort food isn’t just wanted, it’s needed.
Ingredients
1 lb Ground Italian sausage (mild or hot)
4 slices bacon, chopped
1 medium onion, finely diced
2-3 cloves garlic, minced
4 cups chicken broth
2 cups water
4–5 russet potatoes, thinly sliced (skin on, sliced into thin rounds)
1 tsp salt (start light—adjust later)
½ tsp black pepper
1 cup heavy cream
2–3 cups chopped kale
Optional garnish: cracked black pepper or Parmesan
Instructions
Cook bacon & sausage
Heat your Dutch oven over medium heat. Cook bacon until crisp; remove and set aside, leaving the drippings. Add sausage and cook until browned and crumbled. Remove and set aside with the bacon.
Sauté onions/garlic
Add onion to the same pot and sauté 4–5 minutes until soft. Add garlic and cook 30 seconds until fragrant.
Simmer potatoes
Pour in chicken broth and water, scraping up browned bits. Add potatoes, salt, pepper, and red pepper flakes. Bring to a boil, then reduce to a steady simmer. Cook 15–20 minutes until potatoes are tender.
Make it creamy
Lower heat and stir in heavy cream. Return sausage and bacon to the pot.
Finish with kale
Add kale and simmer 3–5 minutes until wilted and tender.
Taste & serve
Adjust seasoning & serve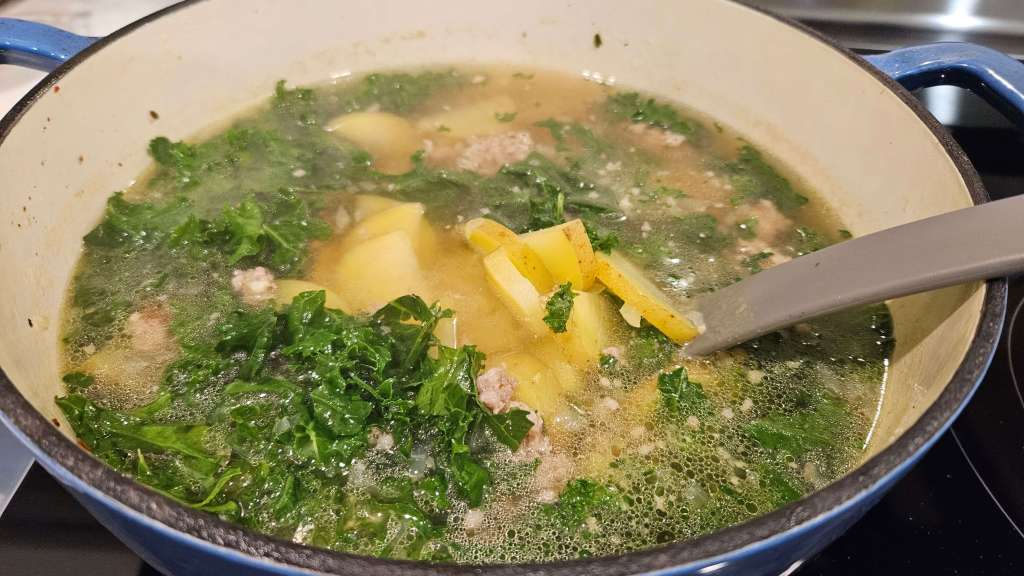

By the time the last ladle is poured, the kitchen smells like comfort, and the table feels a little cozier. Zuppa Toscana has a way of turning an ordinary evening into something warm and memorable: creamy broth, tender potatoes, and just enough spice to keep you reaching for one more bite. It’s not just soup; it’s an invitation to slow down, tear into warm bread, and enjoy the quiet happiness of a meal made with care.
-
Simple Pancakes
There’s something undeniably magical about a stack of homemade pancakes—golden at the edges, fluffy at the center, and warm enough to melt a little butter into pure bliss. In my kitchen, pancakes aren’t just a breakfast staple; they’re a weekend ritual, a reason to slow down, and a cozy reminder that the simplest ingredients can create the most comforting moments.

Ingredients:

2 Cups Self-Rising Flour
1 ½ Cups Milk
1-2 Tsp. Vanilla extract
1 Egg
Mindful serving of chocolate chips (optional), but I added these for mine

Instructions:

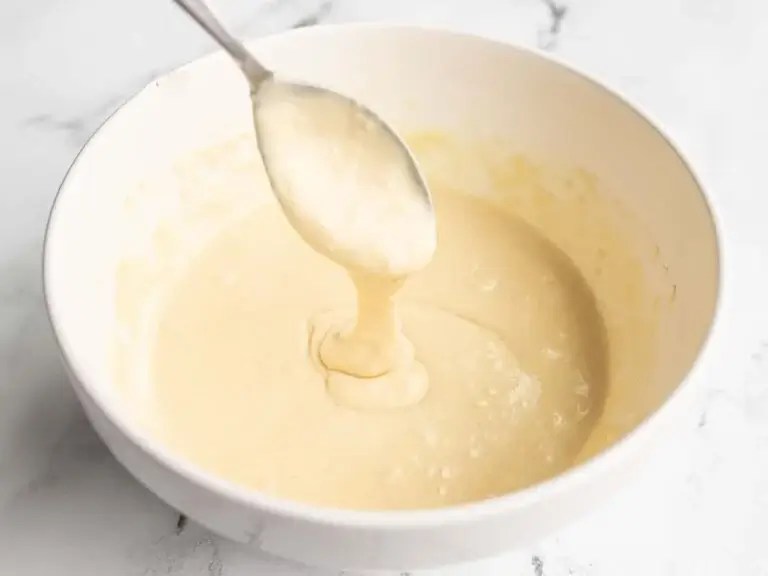
1. Mix all ingredients together.
2. Heat your favorite pan on low/medium heat (spray with oil if needed)
3. Pour as much or as little batter as you want to make the perfect-sized pancake for you.
4. Wait until it bubbles on the top before flipping. 2-3 minutes per side (roughly)
And that’s it—your guide to making pancakes that feel like a warm hug on a plate. I hope this recipe inspires you to linger a little longer over breakfast, experiment with new flavors, and create moments worth savoring. Whether you’re cooking for family, friends, or just treating yourself, homemade pancakes have a way of turning simple mornings into something memorable. It really doesn’t have to be that complicated!

-
Homemade butter – Sign me up!
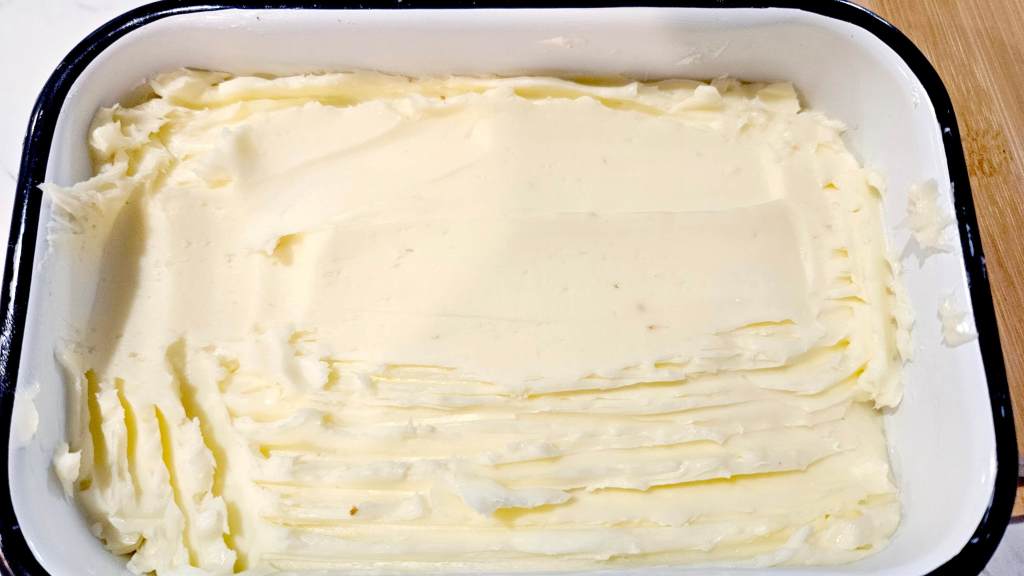
There’s a certain kind of comfort in making butter from scratch. It’s the simple act of turning fresh cream into something that feels like a hug in every bite. The creamy texture, the subtle sweetness—it’s a little homemade magic that transforms your kitchen into a cozy haven. With just two ingredients and a bit of love, you’ll have soft, velvety butter to spread on warm bread, freshly baked muffins, or anything your heart desires. Trust me, once you’ve tasted homemade butter, you’ll never look at the store-bought stuff the same way again.
Ingredients:
- 2 cups heavy cream (preferably not ultra-pasteurized)
- A pinch of salt (optional)
Equipment:
- A stand mixer or hand mixer
- A bowl to collect the buttermilk
- A spoon for stirring
Instructions:
- Whipping the Cream:
- Pour the heavy cream into your mixer bowl.
- Start on a low speed to avoid splashing, and then gradually increase the speed to medium-high.
- Continue mixing for about 5-10 minutes, and you’ll notice the cream first turning into whipped cream. Keep mixing, and soon the whipped cream will begin to separate into butter and buttermilk.
- Pour the heavy cream into your mixer bowl.
- Separate the Buttermilk:
- Once the butter forms (you’ll see clumps of solid butter and liquid buttermilk), stop the mixer.
- Pour off the buttermilk into a separate bowl. You can save it for baking or other recipes if you’d like! The remaining solids are your fresh butter.
- Once the butter forms (you’ll see clumps of solid butter and liquid buttermilk), stop the mixer.
- Wash the Butter:
- To remove excess buttermilk (which can cause the butter to spoil faster), rinse the butter under cold water, gently kneading it with a spatula or your hands. Continue until the water runs clear.
- To remove excess buttermilk (which can cause the butter to spoil faster), rinse the butter under cold water, gently kneading it with a spatula or your hands. Continue until the water runs clear.
- Optional: Add Salt
- If you want salted butter, add a pinch of salt and mix it in evenly.
- If you want salted butter, add a pinch of salt and mix it in evenly.
- Shape & Store:
- You can shape your butter into a block or store it in a jar or an airtight container.
- Homemade butter will last about 3 weeks in the refrigerator.
- You can shape your butter into a block or store it in a jar or an airtight container.
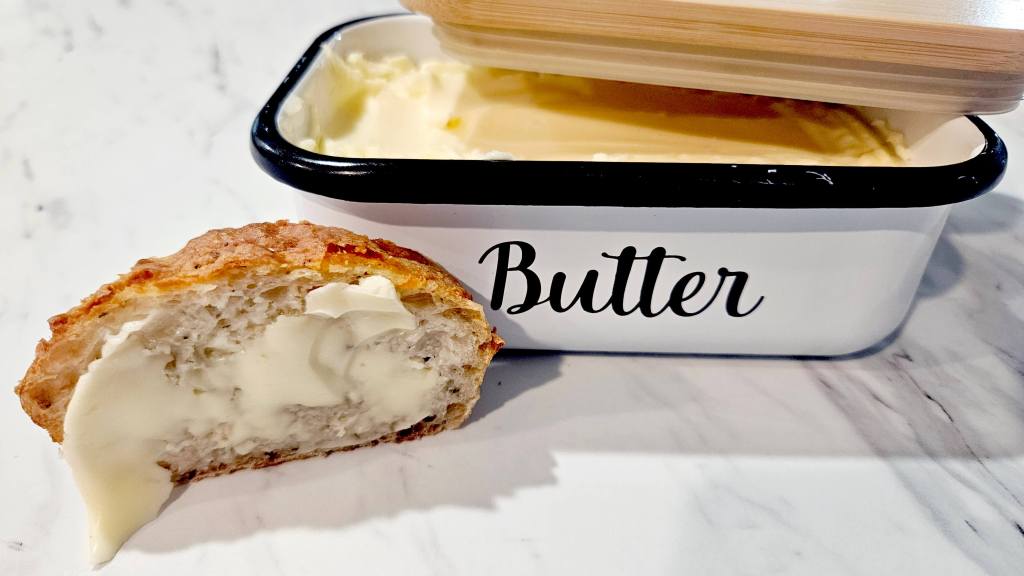
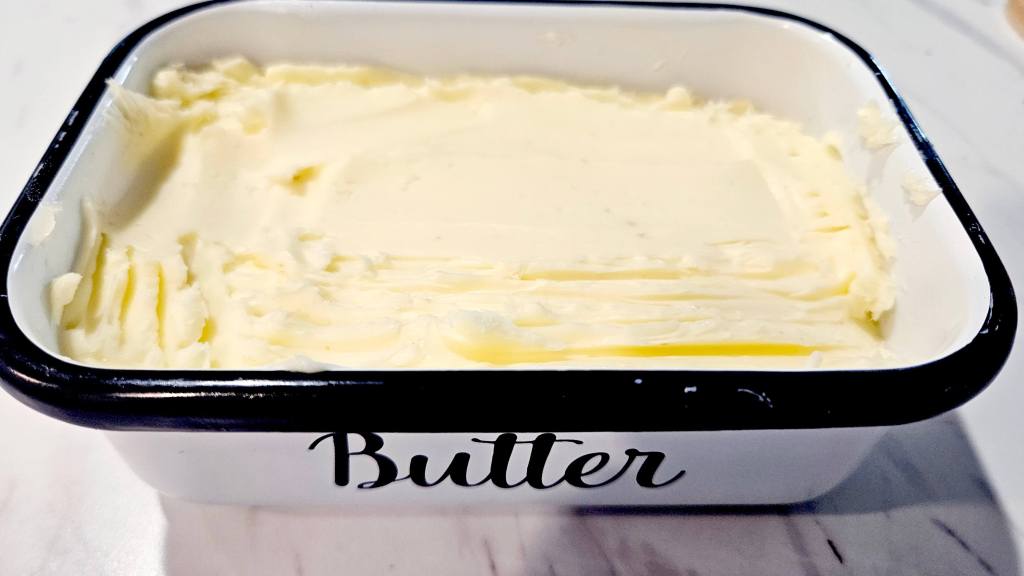
And just like that, you’ve got butter that’s better than anything you’ll find at the store! It’s creamy, it’s homemade, and it’s bound to make your toast feel like royalty. Now go ahead—spread the love (and the butter)!
- 2 cups heavy cream (preferably not ultra-pasteurized)
-
Roasted Cauliflower
Some vegetables just beg for a little spotlight, and cauliflower is one of them. With a quick roast in the oven, it transforms from modest to magical—golden, crispy, and full of warm, nutty flavor. It’s the kind of dish that feels both effortlessly elegant and deeply comforting, perfect for cozy dinners or casual gatherings. If you’ve never fallen in love with cauliflower before, this simple roasted version might just steal your heart.
Ingredients:
1 large head of cauliflower
2–3 tablespoons olive oil
1 teaspoon salt
½ teaspoon black pepper
½ teaspoon garlic powder (optional)
½ teaspoon smoked paprika or cumin (optional, for flavor)
Fresh parsley or lemon juice (for garnish, optional)
Honestly, use what YOU like!Instructions:
- Preheat oven to 425°F
- Prepare the cauliflower:
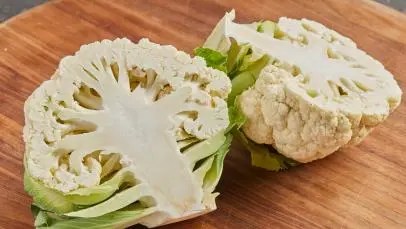
- Remove the green leaves and core.
- Cut the cauliflower into bite-sized florets.
- Season:
- Place florets in a large bowl or directly on a baking sheet.
- Drizzle with olive oil and toss to coat.
- Sprinkle with salt, pepper, and any optional spices.
- Spread out on the baking sheet in a single layer (not crowded).
- Roast:
- Bake for 25–30 minutes, flipping halfway through.
- Roast until golden brown and crispy on the edges.
- Serve
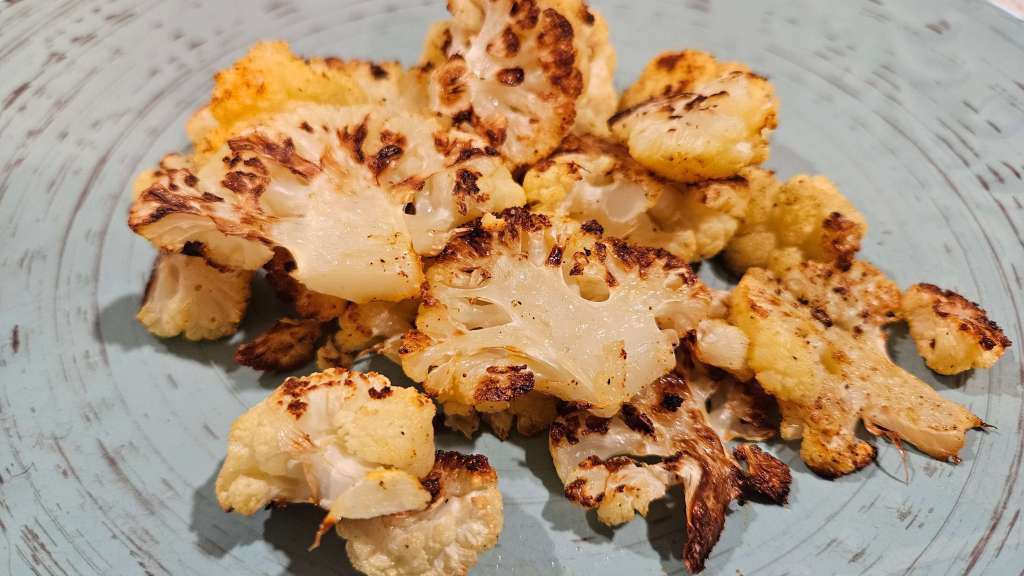

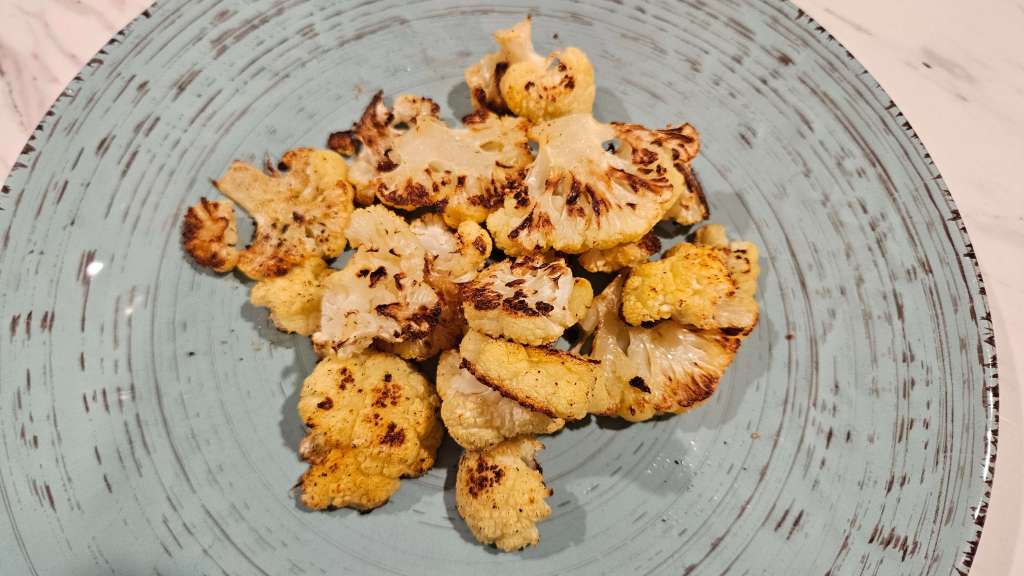
Whether you’re serving it alongside your favorite main dish or letting it shine on its own, roasted cauliflower has a way of winning hearts with its golden charm and savory depth. It’s proof that simple ingredients, treated with a little care, can become something truly special. So go ahead—pull that tray out of the oven, listen to the sizzle, and savor every crispy, caramelized bite. Your table (and your taste buds) will thank you.
-
Homemade Salsa
Some people chase adventure by skydiving. Me? I make salsa from scratch and see how many chips I can eat before someone notices I’m not sharing. There’s just something magical about a bowl of fresh, zesty salsa — the kind that tastes like summer, parties, and just a hint of danger (thanks, jalapeños). It’s bright, bold, and way too easy to devour in one sitting. Don’t say I didn’t warn you — this homemade salsa might just become your newest obsession.
Ingredients:
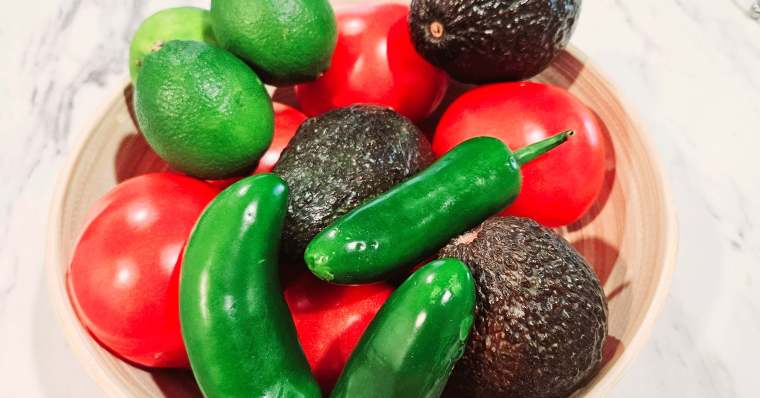
● 4–5 medium ripe tomatoes, chopped (Roma or vine-ripened work best)
● 1 small onion, roughly chopped (white or red onion)
● 1–2 cloves garlic, peeled
● 1–2 jalapeños or serrano chiles, chopped (remove seeds for less heat)
● 1/8 cup fresh cilantro leaves
● Juice of 1 lime
● Salt to taste (start with about 1/2 tsp)

Optional Step (For Roasted Flavor):
Roast the tomatoes, onion, garlic, and peppers in a skillet or under the broiler until slightly charred for a smoky depth.

Instructions:
1. Chop tomatoes and drain off excess juice (optional, for less watery salsa).
2. Add tomatoes, onion, garlic, jalapeños, cilantro, lime juice, and spices to a blender or food processor.
3. Pulse to desired consistency — just a few pulses for chunky, more for smooth.
4. Taste and adjust: Add more lime, salt, or spice as needed.
5. Let it sit 15–30 minutes before serving for the best flavor.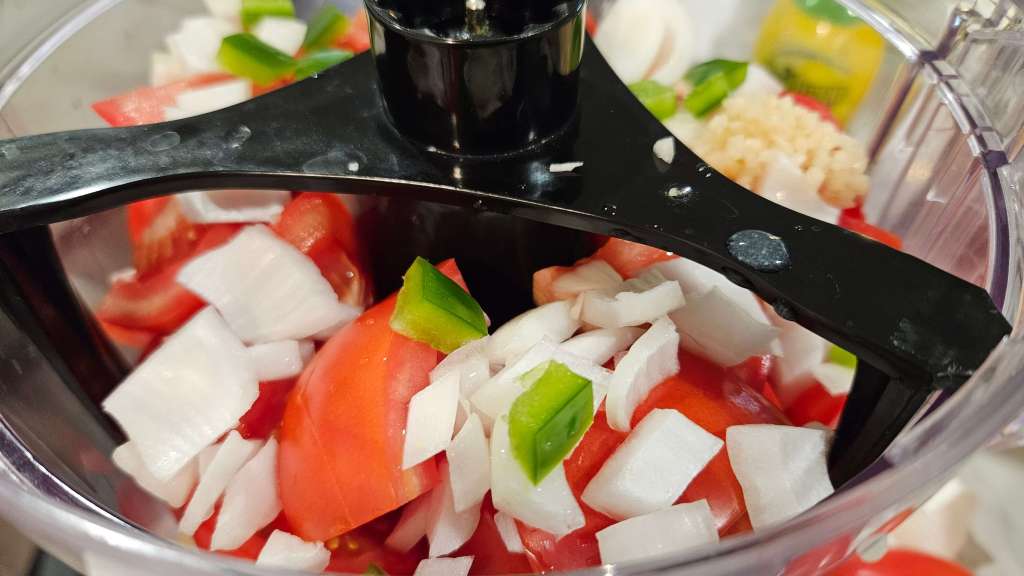
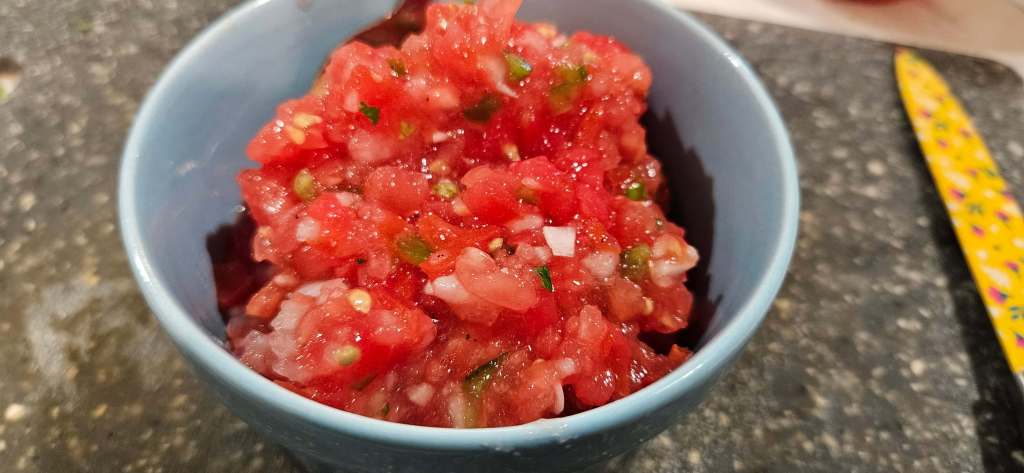
And that’s it — easy, fresh, and full of flavor. Whether you're making it for a party, a cozy night in, or just because you feel like having something a little better than store-bought, this salsa’s got your back. So grab some chips, maybe a cold drink, and enjoy. You’ve earned it. And hey, when you see how simple it is, you’ll probably never go back to the jarred stuff again.
Just a girl with a passion for cooking

