Easy and foolproof 2-ingredient bagel recipe made with Greek yogurt and flour – That is it!
Imagine biting into a warm, freshly baked bagel that’s perfectly golden on the outside and delightfully chewy on the inside – all made with just two simple ingredients! It sounds too good to be true, right? But with this easy, no-fuss recipe, you can create homemade bagels in a fraction of the time it takes to go to the bakery. No yeast, no fancy equipment, and no long hours of kneading—just two basic ingredients that come together to form a dough so simple, yet so satisfying. If you’ve ever wanted to enjoy the magic of homemade bagels without the hassle, this is the recipe for you!

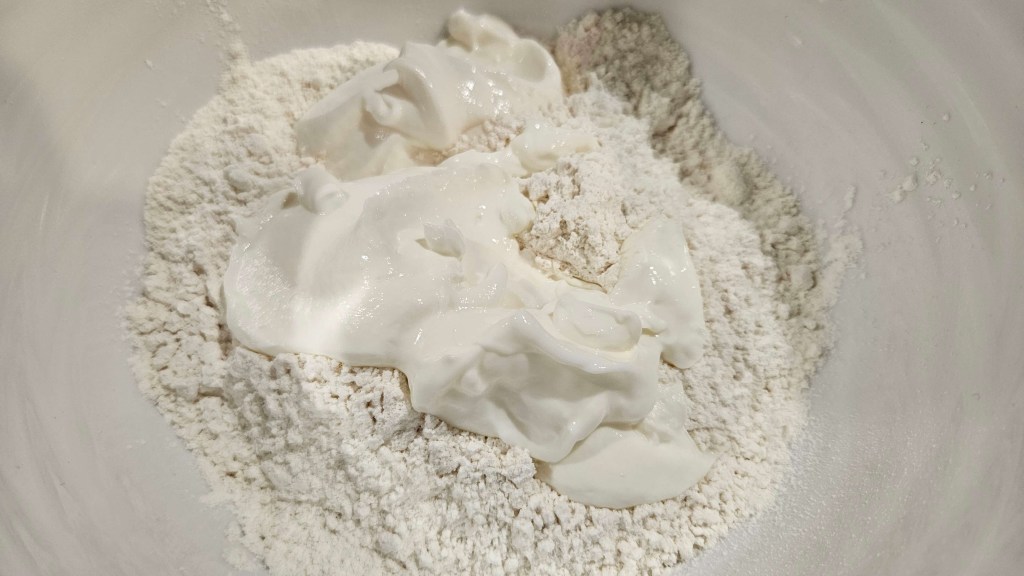
Bagel ingredients:
1 ¼ Cups of Self Rising Flour
1 Cup Plain Greek Yogurt
Instructions:
1. Preheat the oven to 180C/350F. Line a baking tray with parchment paper and set aside.
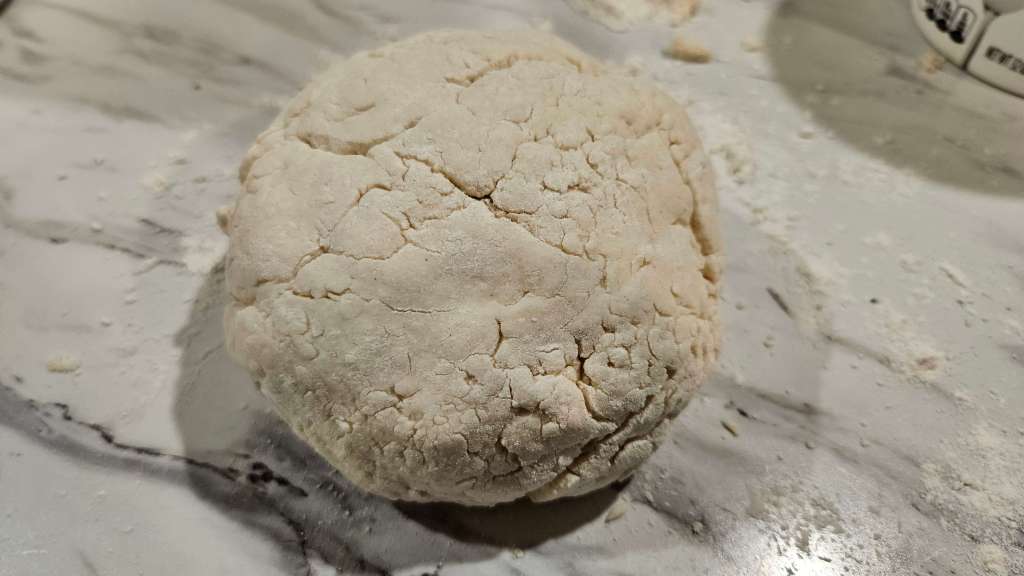
2. In a large mixing bowl, combine your flour and Greek yogurt and mix well, until fully combined and a ball of dough remains.
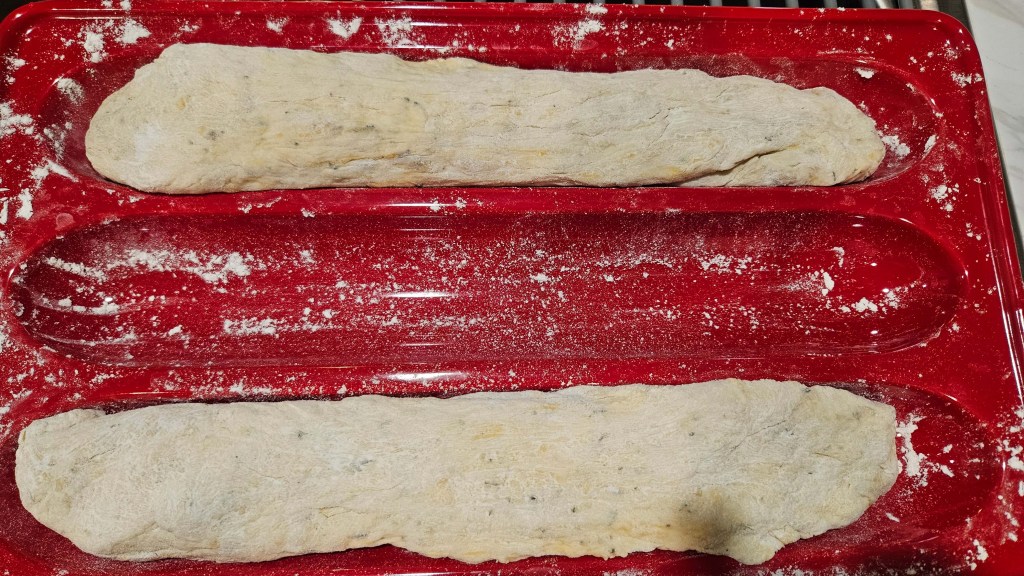
3. Lightly grease a kitchen surface with extra flour. Place the ball of dough on top, and top with a little extra flour.
4. Slice into 4 even pieces.
5. Use your hands to roll the dough into a thin, sausage shape. Join both ends of the dough to form a bagel shape. Place on the lined tray and repeat until 4 bagels are formed. Lightly brush the tops of each bagel with either butter, egg, milk or water. Sprinkle the seeds on top. (Optional)
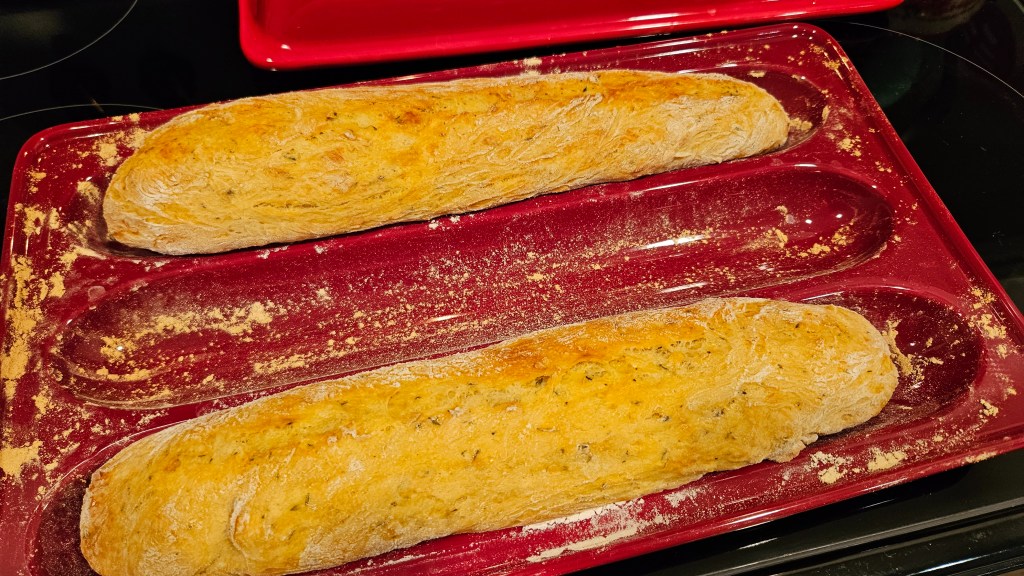
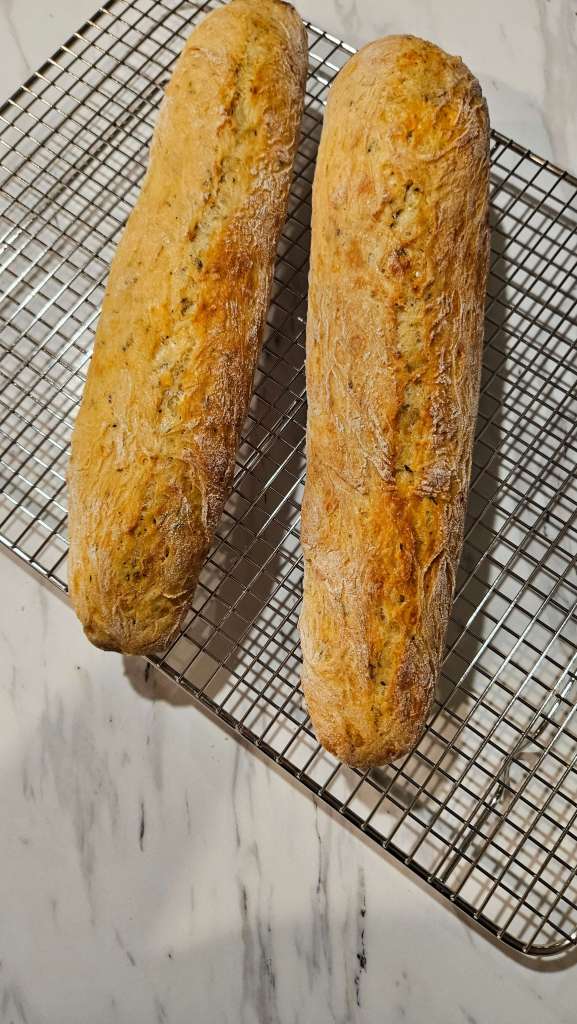
6. Bake the bagels for 22-25 minutes, or until golden brown. Remove from the oven and allow to cool completely.

Whether you enjoy them plain, with your favorite spread, or piled high with toppings, these bagels are a perfect reminder that sometimes the simplest recipes are the most rewarding. So the next time you’re craving a fresh, warm bagel but don’t have the time or patience for a complicated recipe, remember this easy two-ingredient trick—because homemade bagels have never been easier or more satisfying!

NOTES:
To store: Place cooked and cooled bagels in a ziplock bag. Bagels generally keep fresh for at least 5 days. You CAN keep them at room temperature, provided you eat them within 3 days.
To freeze: Either place bagels in ziplock bags individually or all of them together in one bigger bag. Frozen bagels will keep for 6 months.