There are moments when news hits so hard, it leaves you breathless—grasping for words that simply don’t come. That’s exactly how I felt hearing about the passing of Anne Burrell.
It doesn’t seem real.
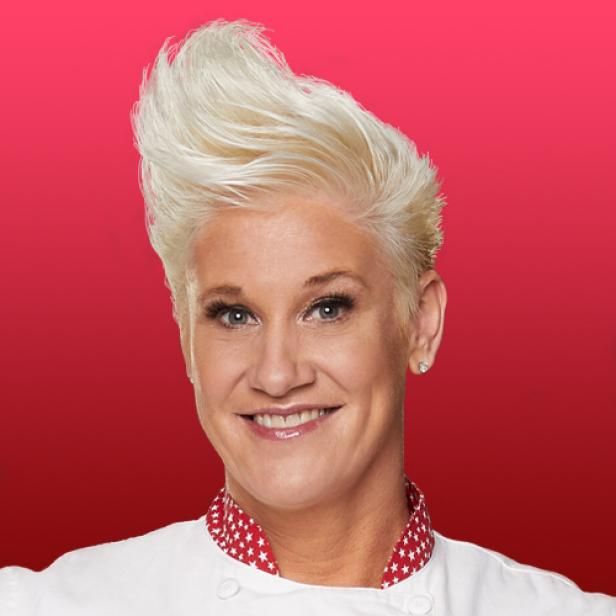
Anne wasn’t just a chef. She was a spark. A force of energy. With her signature platinum blonde hair and unmistakable voice, she filled every room—every kitchen, every screen—with unfiltered joy, fierce talent, and infectious enthusiasm.
She made you believe that cooking could be bold, loud, and full of personality. She taught us how to handle a knife, how to sear a steak, how to season with soul. But more than that, she showed us how to live with passion. With purpose. With flavor.
To say her death is shocking feels like an understatement. Just days ago, she was performing improv comedy—laughing, living, and radiating energy. And now, that light is gone. Just like that. No warning. No time to prepare. Just silence where once there was so much life.
Anne taught us how to be brave in the kitchen, but I think she also taught us how to be brave in life. She wasn’t afraid to be herself—loud, quirky, full of flavor. We need more people like that. We need to be more like that.
So tonight, maybe you cook something messy and delicious. Maybe you crank up the music, pour a glass of wine, and remember her not with tears—but with a little fire in your soul.
Rest easy, Anne. You were one of a kind.