Let’s be honest — bruschetta is a bit of a flirt. It shows up looking all golden and crisp, dressed in ripe tomatoes and fresh basil, and before you know it, you’re completely smitten. One bite and it’s game over — the garlic hits just right, the olive oil glistens, and suddenly you’re wondering why you ever bothered with complicated appetizers. This recipe is all about effortless charm and bold flavor, the kind that leaves you wanting just one more bite (or five). Ready to fall in love? Let’s toast some bread and make some magic.
Ingredients:
- 1 baguette or rustic Italian bread, sliced into ½-inch thick slices
- 4–5 ripe tomatoes, diced (Roma or cherry tomatoes work well)
- 2 cloves garlic, minced (plus 1 extra clove, whole, for rubbing bread)
- ¼ cup fresh basil leaves, chopped
- 2–3 tbsp extra virgin olive oil, plus more for brushing
- 1 tbsp balsamic vinegar (optional, for extra depth)
- Salt and freshly ground black pepper, to taste
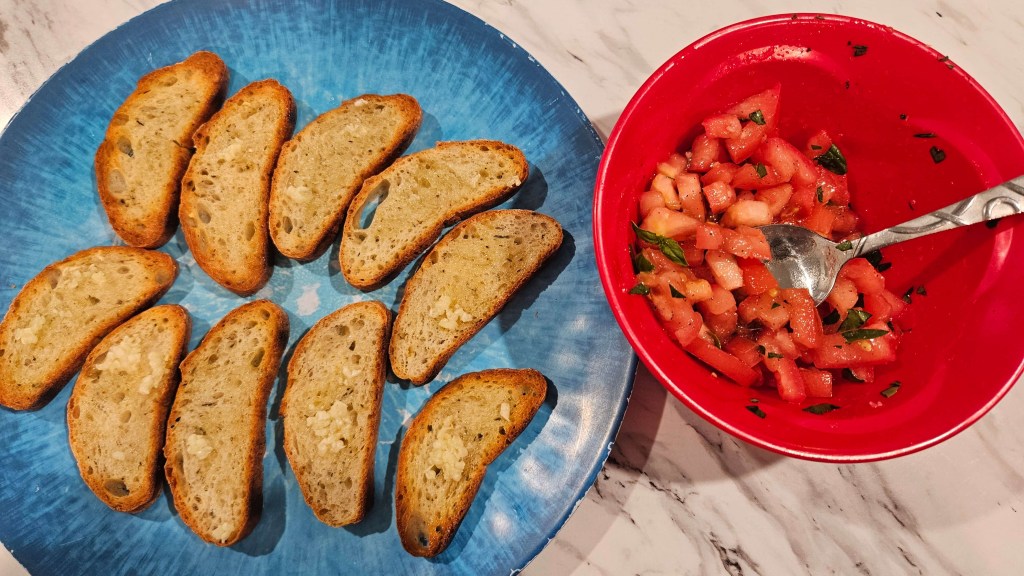
For the Bread:
- Preheat oven to 400°F (200°C).
- Place bread slices on a baking sheet and brush lightly with olive oil on both sides.
- Bake for about 8–10 minutes, flipping once, until golden and crisp.
- While still warm, rub the top of each toast with the whole garlic clove. This adds great flavor.
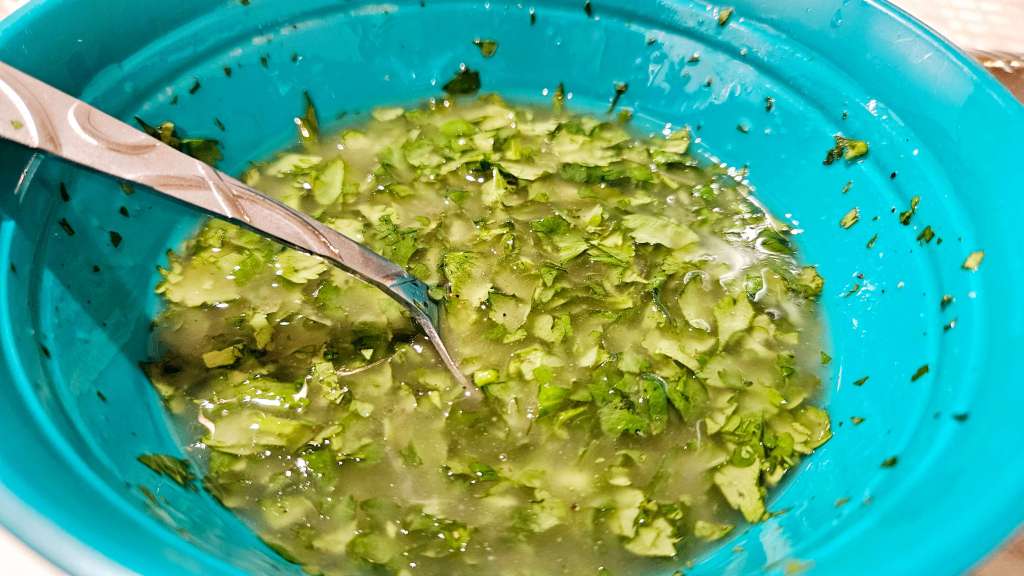
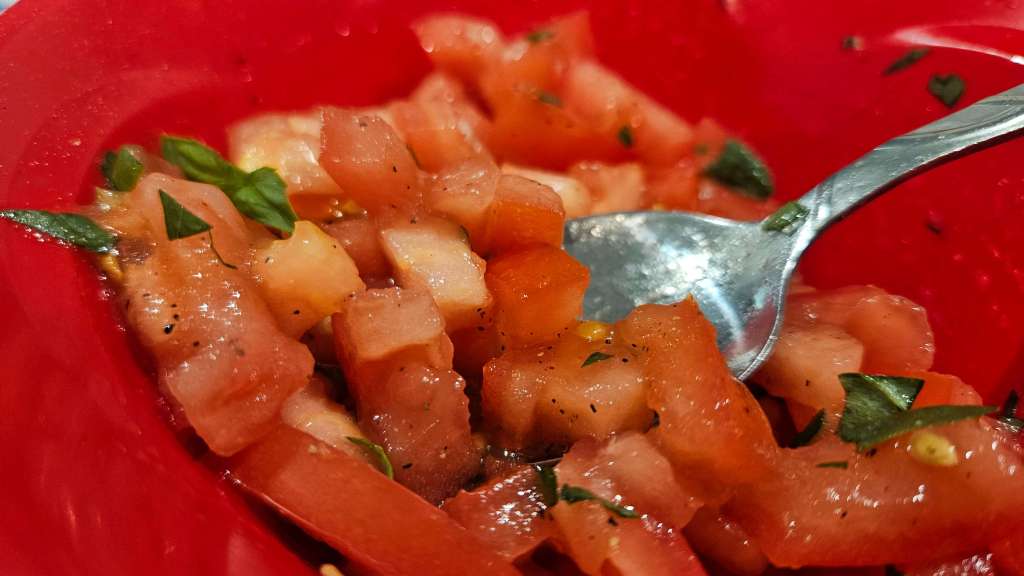
For the Topping:
- In a bowl, combine:
- Diced tomatoes
- Minced garlic
- Chopped basil
- Olive oil
- (Optional) Balsamic vinegar
- Season with salt and pepper to taste and set aside.
To Assemble:
- Spoon the tomato mixture onto each slice of toasted bread just before serving.
- Drizzle with a little more olive oil or a splash of balsamic glaze if desired.
- Garnish with extra basil if you like.

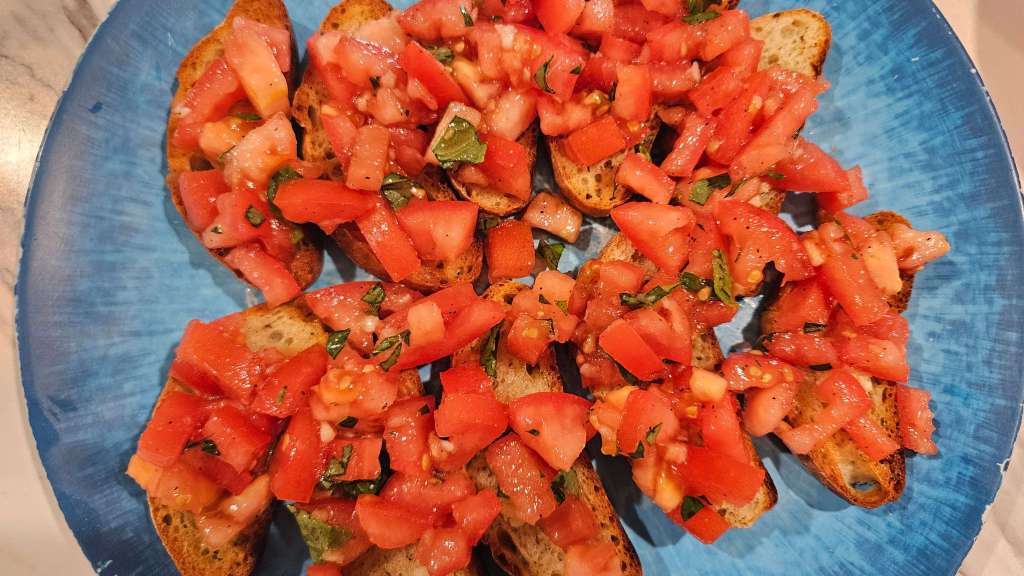
Simple, fresh, and full of flavor — this bruschetta is proof that a few good ingredients can go a long way. Serve it up, share it around, and enjoy every bite. Buon appetito!