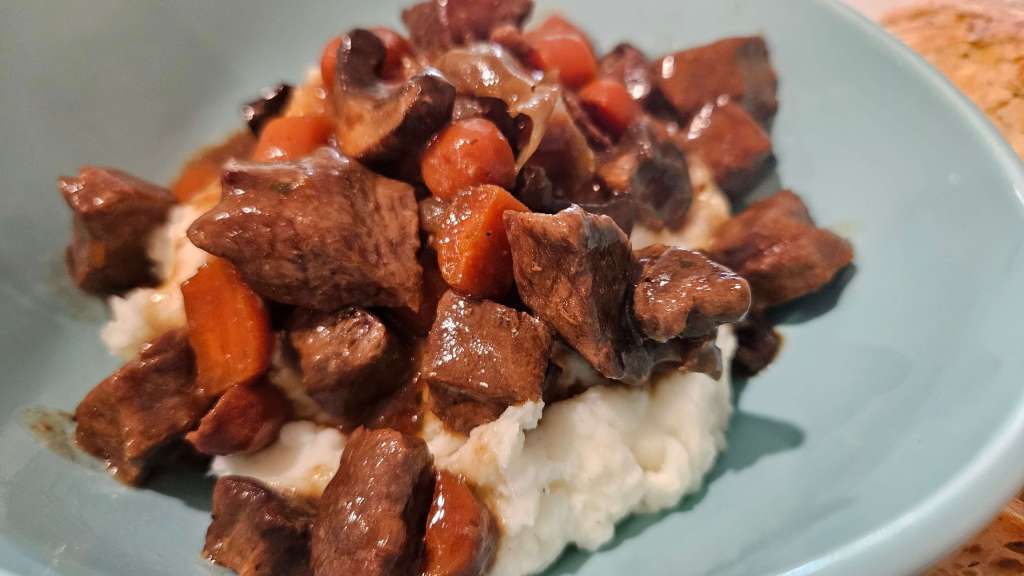
Zuppa Toscana is the kind of soup that makes you slow down at the first spoonful. A creamy, savory broth carries tender potatoes, hearty Italian sausage, and ribbons of kale, all infused with garlic and onion until the flavors melt together. It’s rustic yet indulgent, warming from the inside out, and perfect for nights when comfort food isn’t just wanted, it’s needed.
Ingredients
1 lb Ground Italian sausage (mild or hot)
4 slices bacon, chopped
1 medium onion, finely diced
2-3 cloves garlic, minced
4 cups chicken broth
2 cups water
4–5 russet potatoes, thinly sliced (skin on, sliced into thin rounds)
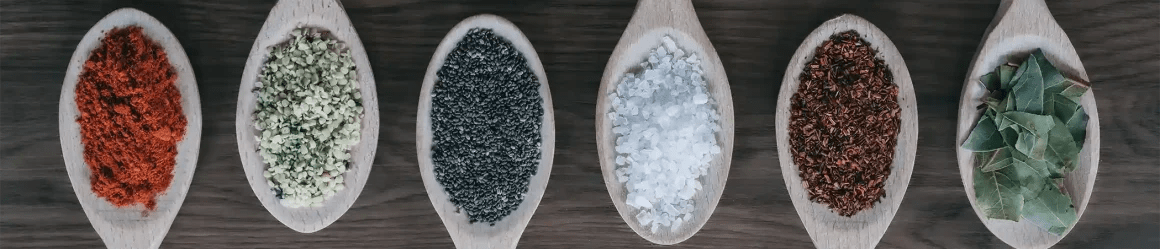
1 tsp salt (start light—adjust later)
½ tsp black pepper
1 cup heavy cream
2–3 cups chopped kale
Optional garnish: cracked black pepper or Parmesan
Instructions
Cook bacon & sausage
Heat your Dutch oven over medium heat. Cook bacon until crisp; remove and set aside, leaving the drippings. Add sausage and cook until browned and crumbled. Remove and set aside with the bacon.
Sauté onions/garlic
Add onion to the same pot and sauté 4–5 minutes until soft. Add garlic and cook 30 seconds until fragrant.
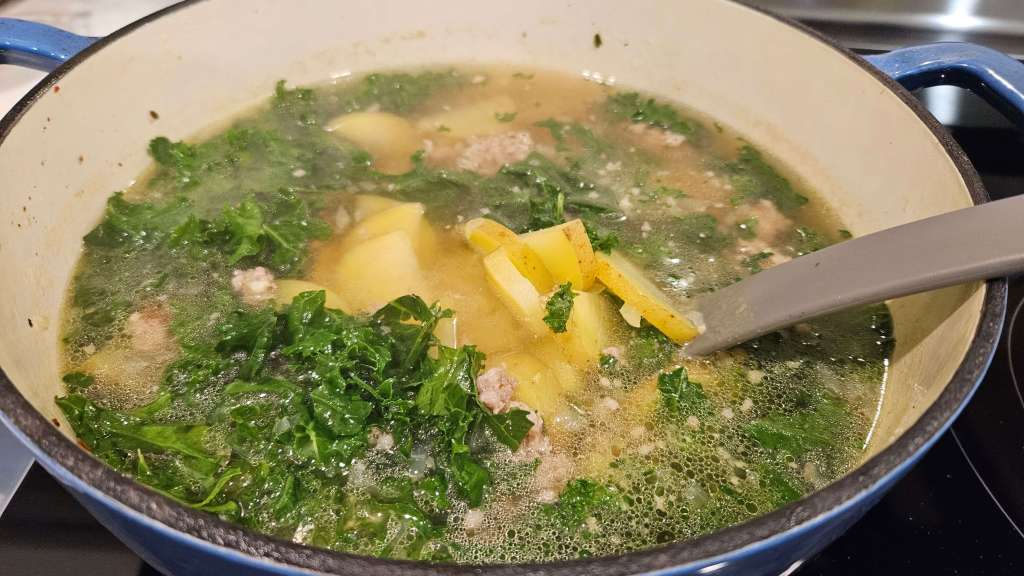
Simmer potatoes
Pour in chicken broth and water, scraping up browned bits. Add potatoes, salt, pepper, and red pepper flakes. Bring to a boil, then reduce to a steady simmer. Cook 15–20 minutes until potatoes are tender.
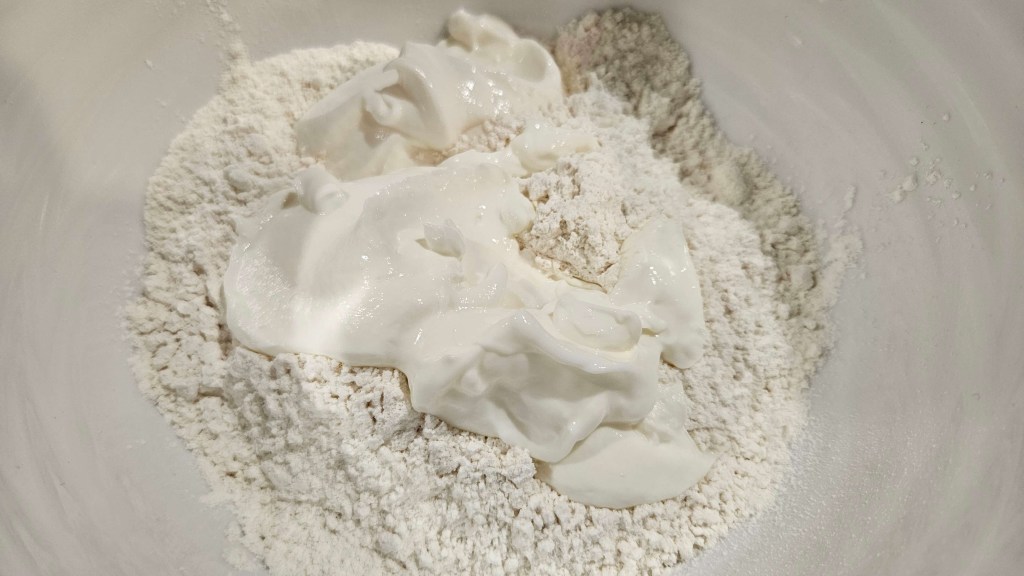
Make it creamy
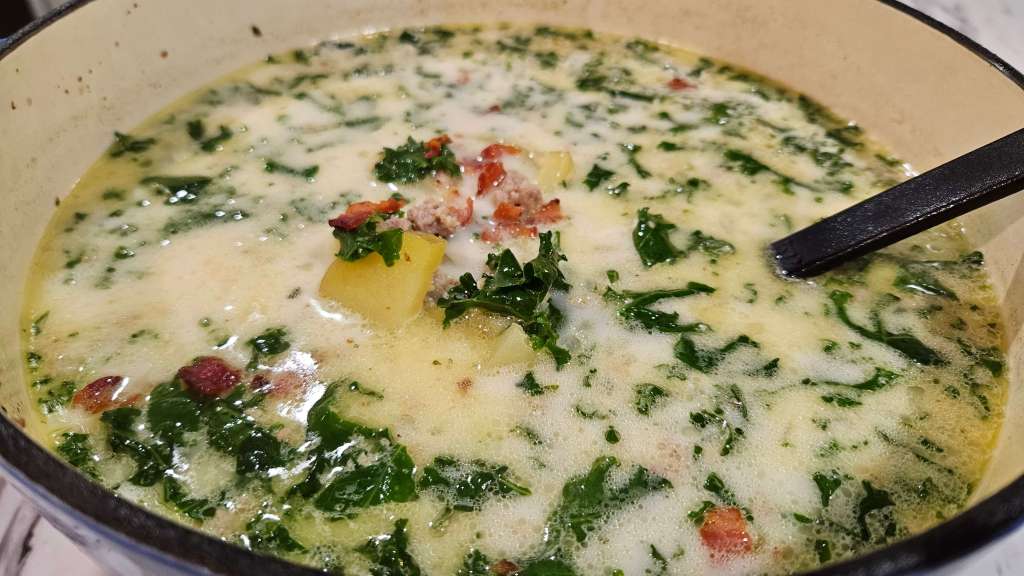
Lower heat and stir in heavy cream. Return sausage and bacon to the pot.
Finish with kale
Add kale and simmer 3–5 minutes until wilted and tender.
Taste & serve
Adjust seasoning & serve
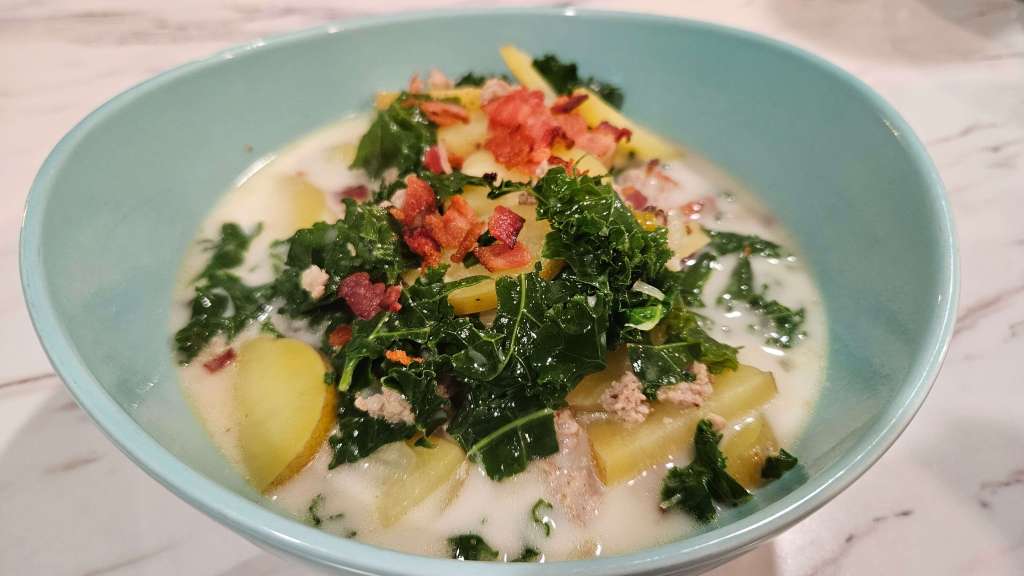
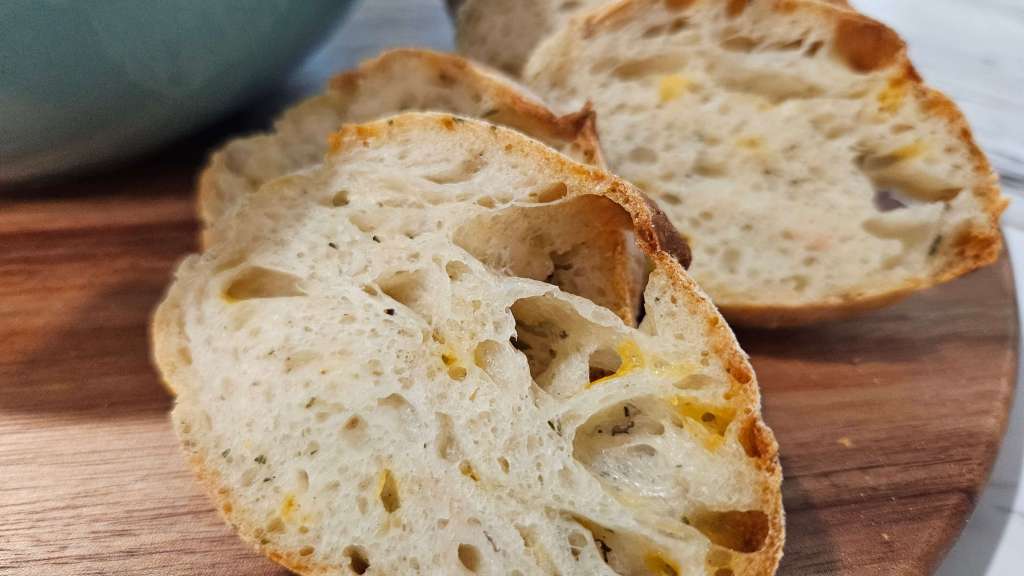
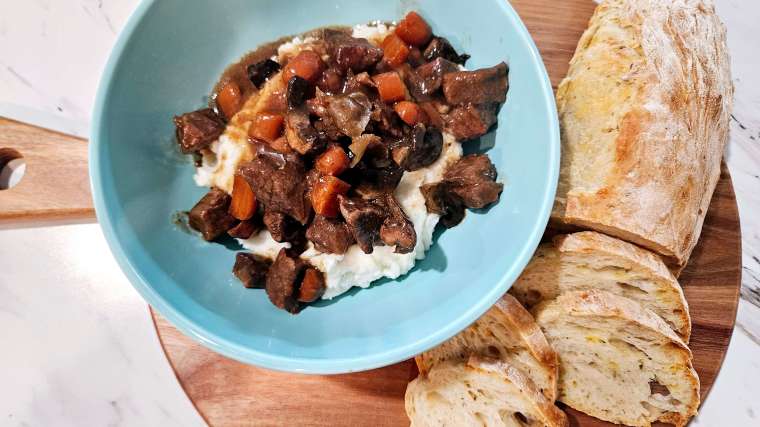
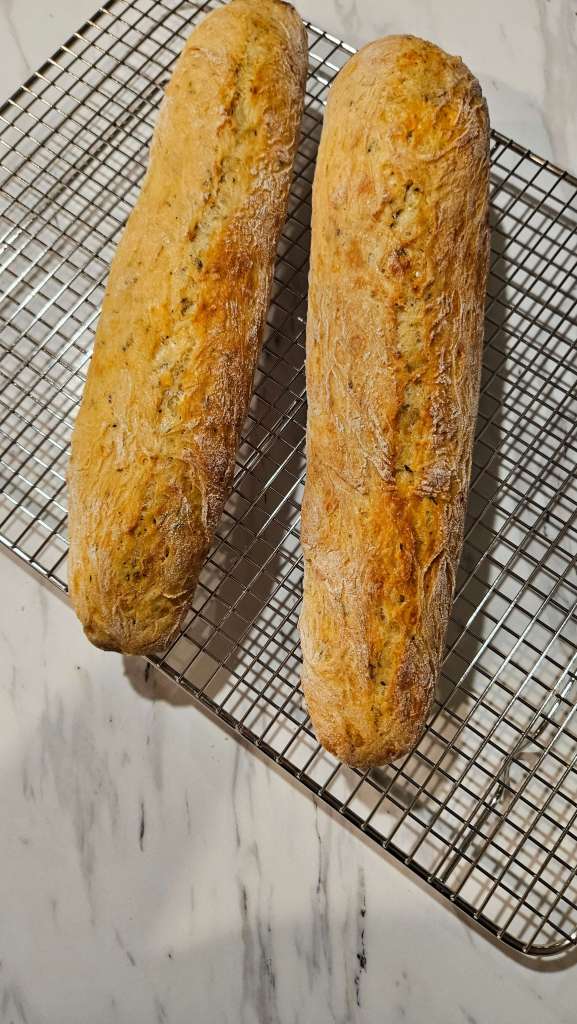
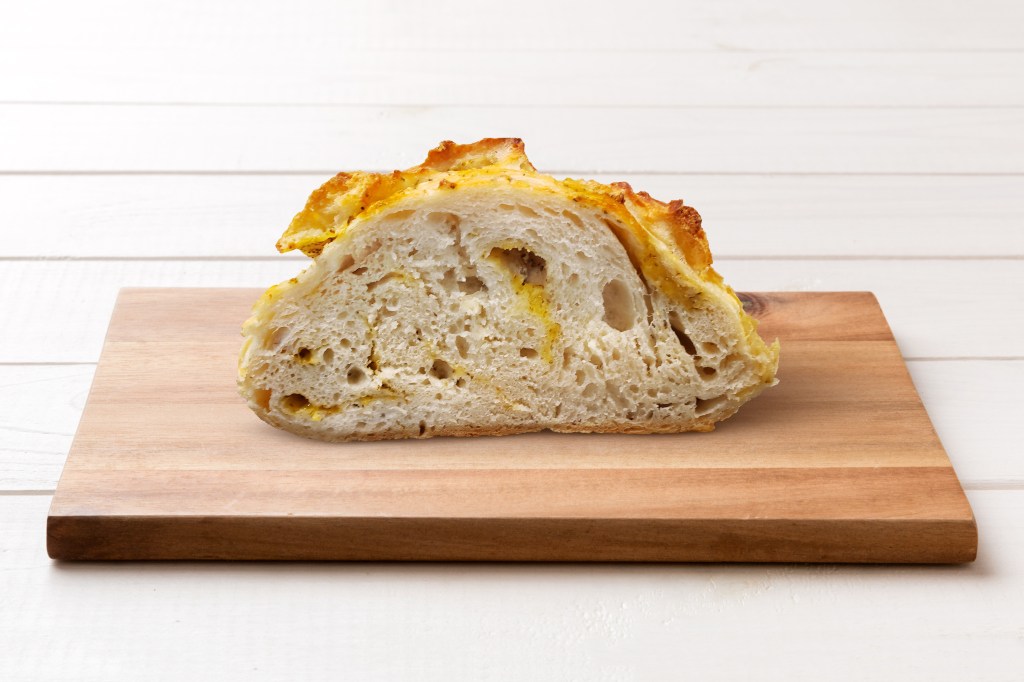
By the time the last ladle is poured, the kitchen smells like comfort, and the table feels a little cozier. Zuppa Toscana has a way of turning an ordinary evening into something warm and memorable: creamy broth, tender potatoes, and just enough spice to keep you reaching for one more bite. It’s not just soup; it’s an invitation to slow down, tear into warm bread, and enjoy the quiet happiness of a meal made with care.