-
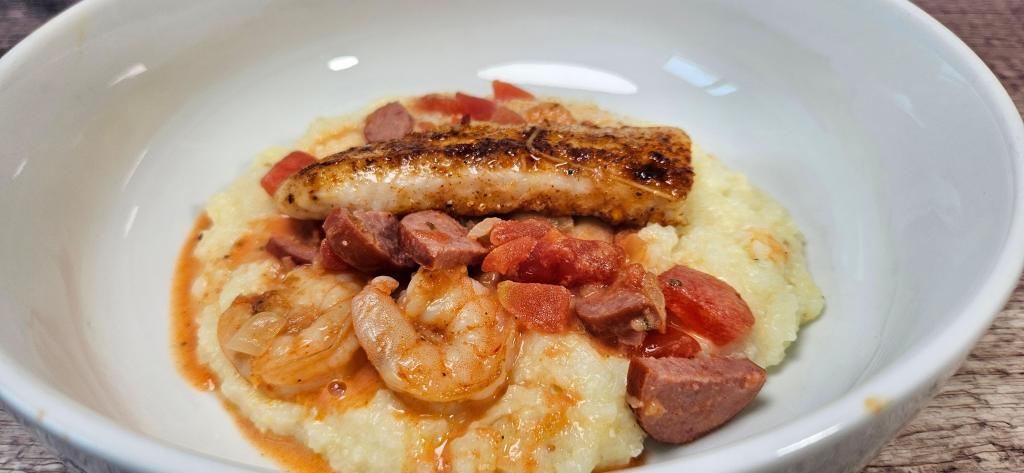
Shrimp & Grits – With a twist!
Indulge in a harmony of flavors with every bite of our tantalizing shrimp and grits.
Picture this: plump, succulent shrimp delicately nestled atop a bed of creamy, velvety grits, infused with just the right amount of savory spices to awaken your taste buds. Each mouthful is a harmonious blend of rich, buttery goodness and the subtle sweetness of fresh seafood, creating a culinary experience that dances on the palate. Welcome to a world where comfort meets sophistication, where every spoonful tells a story of Southern charm.

Here are the ingredients that you’ll need:
For the grits:
- 1 cup stone-ground grits
- 2 cups Chicken stock
- 2 cups milk
- Salt and pepper to taste
- 2 tablespoons Butter
For the shrimp:
- 1 pound large shrimp, peeled and deveined
- 2 tablespoons olive oil
- 3 cloves garlic, minced
- 1 onion, finely chopped
- 1 cup diced tomatoes
- 1 teaspoon Cajun seasoning (adjust to taste)
- Salt and pepper to taste
- 2 tablespoons fresh parsley, chopped (for garnish)
- ½ Cup diced spicy sausage (optional) This is something I had around, so I decided why not!
- 1 small filet of fish (optional) This is my spin on this dish!
Instructions:
- Start by preparing the grits. In a medium saucepan, bring the chicken stock and milk to a boil over medium heat. Slowly whisk in the grits, reduce the heat to low, and cover. Let the grits simmer, stirring occasionally, for about 20-25 minutes or until thickened and creamy. Season with salt and pepper to taste, then stir in the butter until melted. Remove from heat and keep warm. Or to save time, mix everything in a microwavable bowl and cook for about 10-15 minutes, depending on your microwave.
- While the grits are cooking, prepare the shrimp. In a large skillet, heat the olive oil over medium heat. Add the minced garlic and sauté for about 1 minute until fragrant. Add the chopped onion, and cook until softened, about 3-4 minutes.
- Add the diced tomatoes to the skillet and cook for another 2 minutes.
- Add the spicy sausage if using.
- Season the shrimp with Cajun seasoning, salt, and pepper. Push the vegetables to the side of the skillet and add the seasoned shrimp. Cook the shrimp for 2-3 minutes on each side until pink and cooked through. Mix them in with the vegetable mixture.
- Season your fish with the same seasoning. In the same pan, add the fish and cook for 2-3 minutes per side. Take out and set aside.
- To serve, spoon the creamy grits into bowls and top with the cooked shrimp and vegetable mixture. Garnish with chopped parsley.
- Add the fish perfectly right on top.
Can you say yum? Yes, please! And, when you get comments like “That’s mind-blowingly yummy” it makes you want to make this often!
Oh, and this will pair well with my homemade bread recipe, you can find that here
-
Chocolate Chip Cookies (The yummiest!)
If you’re looking for a simple, straightforward recipe for the most delicious chocolate chip cookies, then you’re in the right place!
These are everything a chocolate chip cookie should be, crisp and chewy, buttery, and sweet. And, by far the easiest and yummiest chocolate chip cookies I’ve made to date!

Here is a list of ingredients that you’ll need:
1 Cup salted butter – Softened
1 Cup White Sugar (Granulated)
1 Cup Light Brown Sugar (Packed)
3 Cups all-purpose flour
2 ½ tsp. pure vanilla extract
2 Large eggs
1 tsp. Baking soda
½ tsp. Baking powder
1 tsp. Salt (fine sea salt)
2 Cups chocolate chips (or chopped chocolate)
INSTRUCTIONS
1. Preheat over to 375 F. Line a baking sheet with parchment paper and set aside.
2. In a small bowl, mix flour, baking soda, baking powder, and salt. Stir well. Set aside
3. Cream together BOTH sugars and butter until well combined.
4. Beat in eggs (one at a time) and vanilla until fluffy
5. Mix in dry ingredients until well combined.
6. Add chocolate chips and mix well.
7. Roll 2-3 Tbs. (this will depend on how big you want your cookies) of dough at a time into balls and put them evenly spaced onto the cookie sheet. (I used a small ice cream scoop for the perfect and most uniform shape)
8. Bake in a preheated oven for 8-10 minutes. Take them out when they BARELY start to turn brown. DO NOT over-bake these, even though they may seem under-baked.
9. Let them sit on the baking sheet for 2 minutes before transferring them to a cooling rack.
-
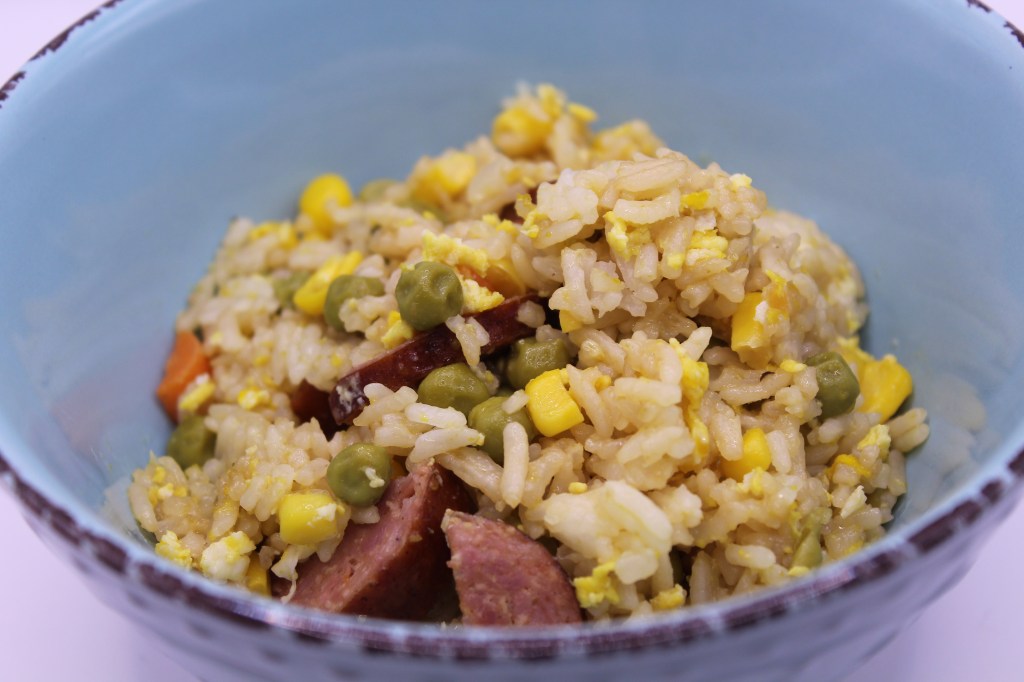
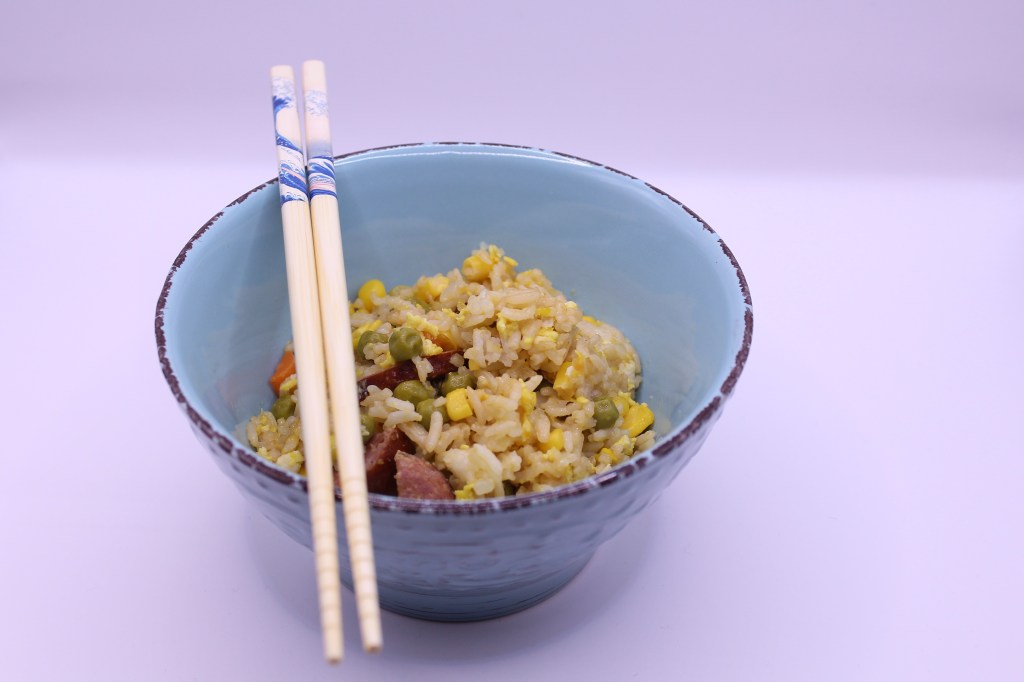
Hibachi Fried Rice – Instant Pot Recipe
Have you been to those restaurants where they cook on a hibachi grill in front of you? The experience is always quite amusing and the food is normally so delicious. The rice is my favorite part of the food (gosh, I love rice, feed me NOW!) So, I’ve created my own hibachi fried rice. Now you can save all the money and make it at home and I assure you, it will taste even better. Trust me! The great thing about this recipe (and pretty much ANY other recipe) is that you can take out anything you don’t like and add some stuff that you do!
Here is the basic list of ingredients you’ll need: You could just use a small bag of frozen mixed vegetables on the vegetables. I personally don’t care for the taste of frozen peas or carrots, however, that would be a little easier!
2 Cups White Rice (Rinsed)
2 Cups Cold water or broth
½ Cup Diced Carrots
½ Cup Corn
½ Cup Peas
1 small Onion
1 Cup Diced Andouille Sausage (optional)
3 (or more) Eggs (I added 4 as I love extra eggs in mine!)
4 Tbs. Soy Sauce (I used low sodium soy sauce)
2 Tbs. Sesame Oil
Salt and Pepper to taste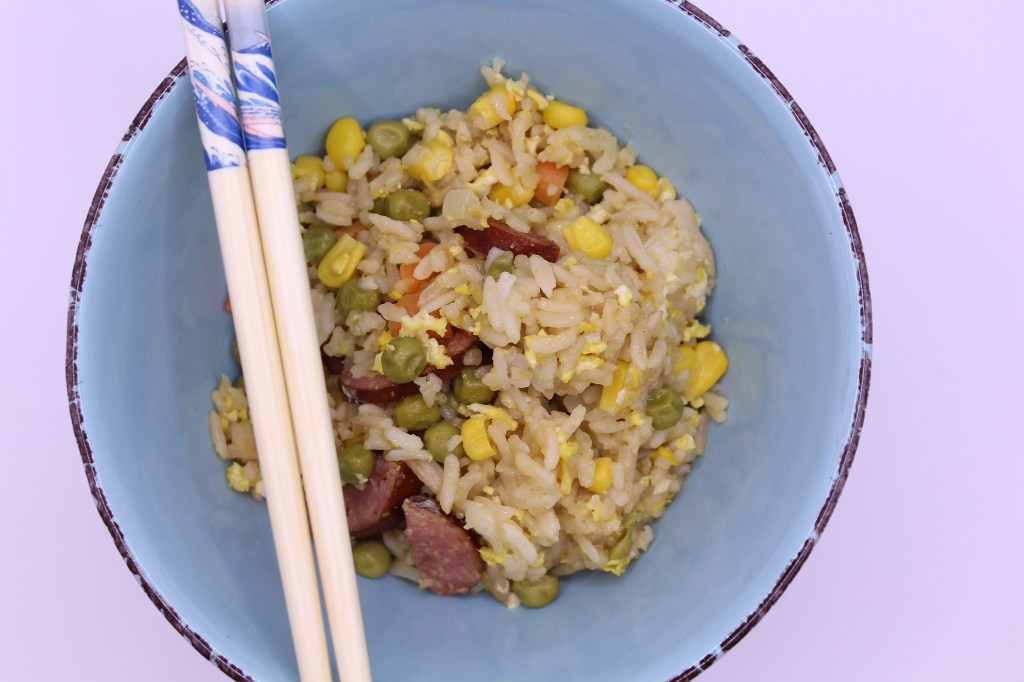
Step 1: Rince the rice until the water turns clear. This should take about 1-2 minutes. Once finished add to the Instant Pot. DO NOT skip this step, if you do the rice will come out mushy.
Step 2: Add 2 cups cold water or broth.
Step 3: “Pressure cook” on high for 3 minutes, allow a 10-minute natural release. Once that’s done, do a quick release. Fluff the rice with a fork and transfer it to a bowl.
Step 4: Add 2 Tbs. Sesame oil to the pot. Add the onion, mixed veggies, and sausage(if you’re using it) Cook until veggies are tender.
Step 5: Move the veggies to one side and add the eggs, stir them constantly until they begin to scramble. Once the eggs begin to cook, mix them in with the veggies until they are done.
Step 6: Add the rice back in and stir until it’s mixed well.
Step 7: Add the soy sauce and stir until everything is evenly mixed.
Mmmmmm, enjoy!
Oh, and don’t forget to ADD THE SALT!
-
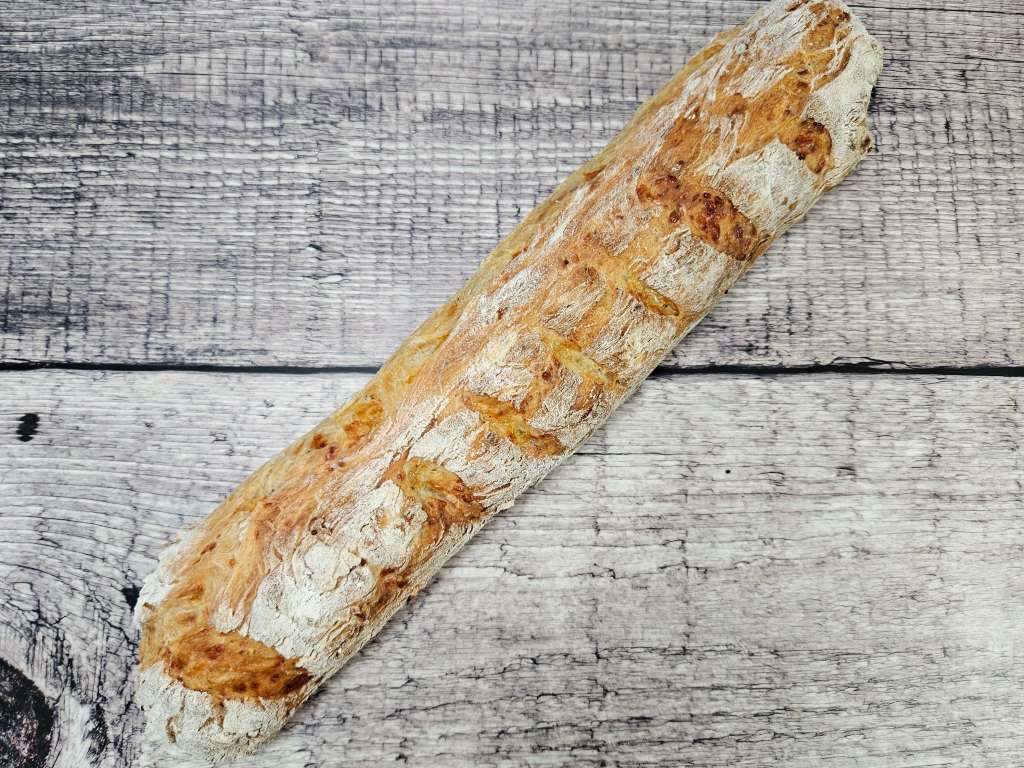
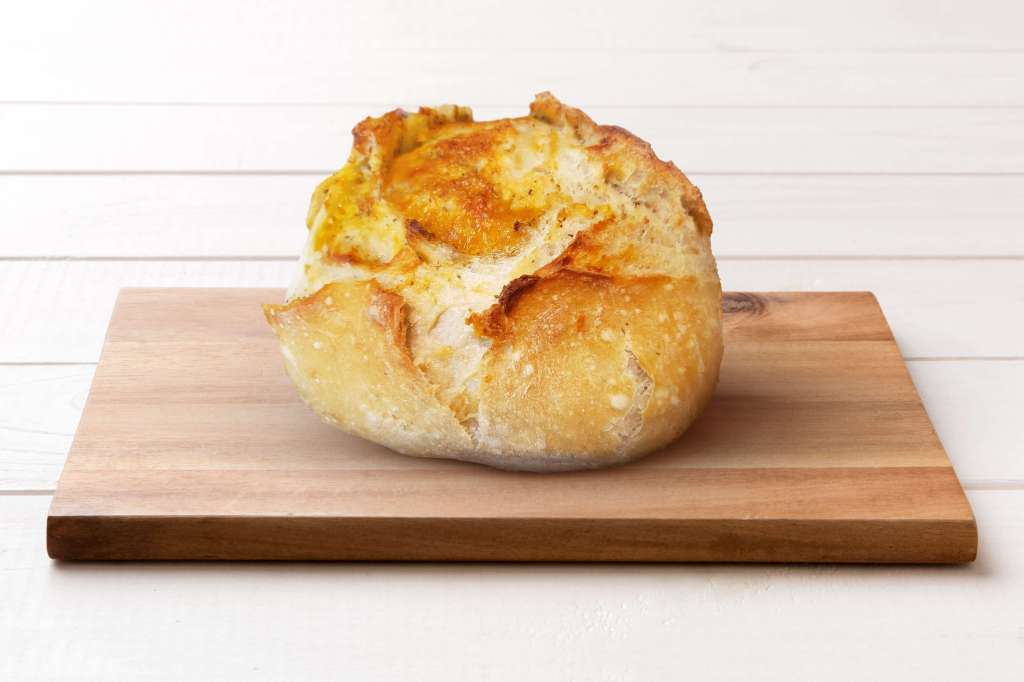
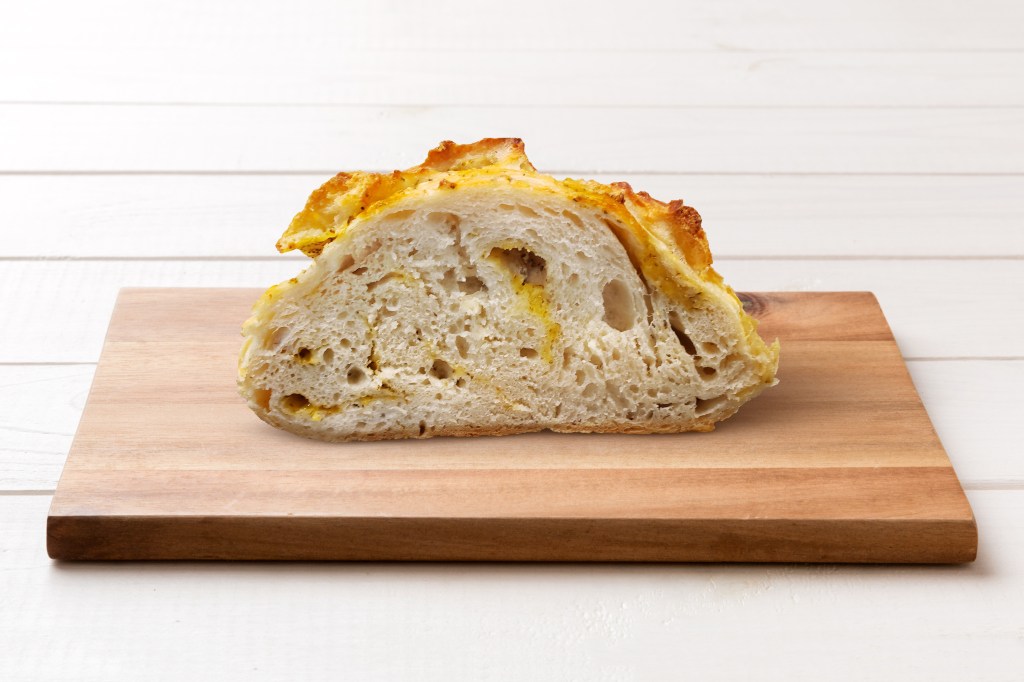
EASY no knead cheese and herb artisan bread! Like seriously scrumptious!
Making homemade fresh bread has never been so easy! This is by far the best and easiest no-knead bread I’ve ever made, and trust me, I’ve made a lot of bread over the past several months. I’ve not had much luck with the recipes that I’ve tried, but I’ve been tweaking and experimenting, and let me just say, wow, it’s incredible!
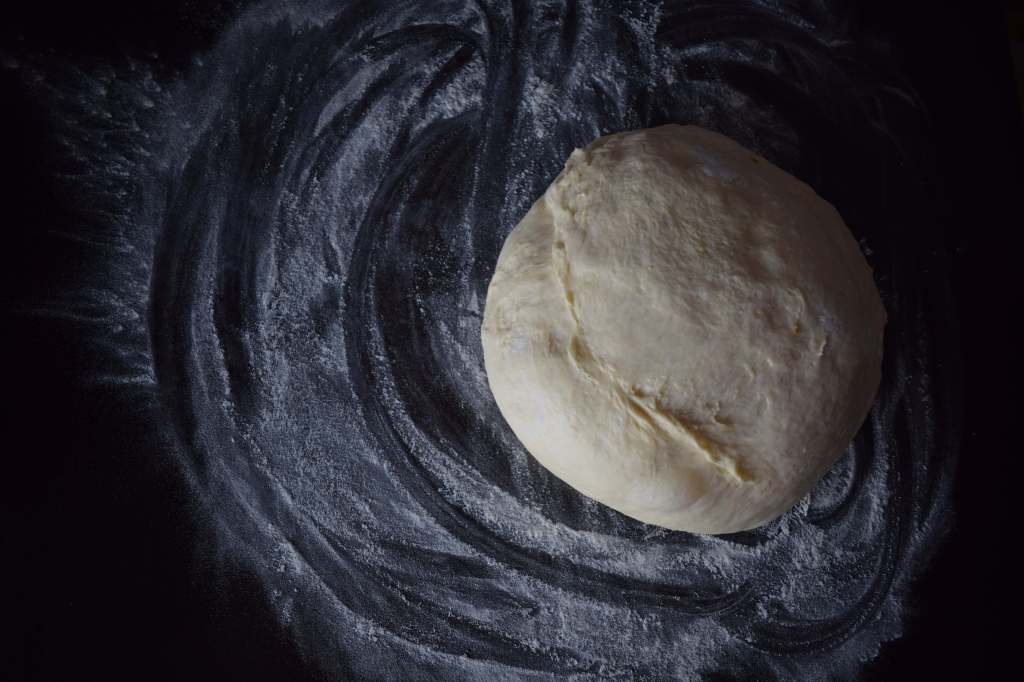
This recipe is simple; you just mix the ingredients and let it sit in a bowl for 3 to 18 hours. I left mine anywhere from 6 to 10 hours before. This is a very flexible recipe and should help with the busy schedules we tend to have!
There are only 4 main ingredients for this recipe, plus the cheese and herbs of course!
Flour – I actually used bread flour, but all-purpose will work too!
Salt – Don’t forget this one!
Active Dry Yeast – you don’t need much, and it’s important to make sure your yeast isn’t expired!
Hot Water – Between 95°F- 110°F
Cheddar Cheese – You can use whatever cheese you like, but I prefer cheddar cheese, yummy!
Herbs – I used rosemary and thyme in mine, but you can use what you prefer. You really can’t go wrong here.
Here are the ingredients that you’ll need:
- 3 Cups – Bread flour or All purpose flour (I used bread flour) (plus some for dusting)
- 2 Tsp. – Salt
- 2 Tsp. – Dry active yeast
- 1 ¾ Cups – Warm water 95F-110F
- 1/2 – 1 Cup – shredded cheddar cheese (Optional) I’ve made this recipe with or without it
- 1 Tsp. – Thyme (more or less, depending on your taste) (or your choice of herbs)
- 1/2 Tsp. – Rosemary (more or less, depending on your taste) (or your choice of herbs)
Here are the steps to make this no-knead cheese and herb bread.
Step one: In a large bowl stir together flour, salt, cheese, rosemary, and thyme. Give it a quick stir and then add the yeast. (Salt slows down the yeast, so I wouldn’t have them in direct contact) Add in the water and mix thoroughly. The dough should be sticky.
Step Two: Cover the bowl and let it sit on the counter to rest for 3-10 hours or for up to 18 hours. You want the dough to double in size and start to have small bubbles on top.
Step Three: Once your dough has rested, place your Dutch oven in the oven to preheat at 450F
Step Four: While your Dutch oven is preheating, flour your work surface and remove the dough from the bowl. Shape into a ball, put onto some parchment paper, cover with a towel, and let rest until the oven is ready.
Step Five: Once the oven is ready, place the parchment paper with the dough into the Dutch oven, using a knife, make a slice on the top of the dough ball. This will help it expand, plus it makes it look so much nicer! Cover and bake for 30 minutes
Step Six: After 30 minutes, remove the top from the Dutch oven and bake for another 15 minutes.
If you don’t have a Dutch oven, do not worry! Just place a pan of water at the bottom of your oven to create a steamy environment. Use a cast-iron pan or a ceramic heat-proof dish. After 15 minutes, take the pan of water out and let it continue to cook until golden brown. ENJOY!
There are 3 different ways to tell if your bread is done.
- Using a thermometer, most bread is done when the internal temperature reaches 190F
- Give the bottom a few taps; if it sounds hollow, it’s done.
- Color. The crust, for the most part, should be dry and firm, and a deep golden brown color. If it’s still rather pale, give it a few extra minutes.
-
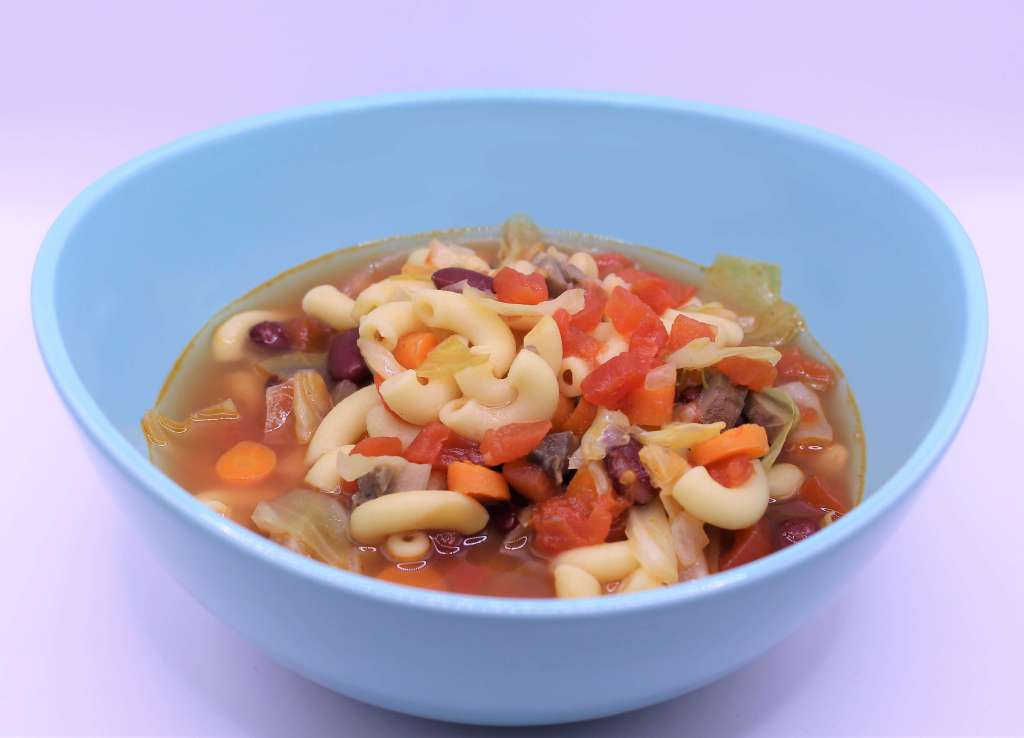
Instapot Pasta and Vegetable Soup
Are you looking for a delicious vegetable soup that is super simple to make? Then this is the one for you!
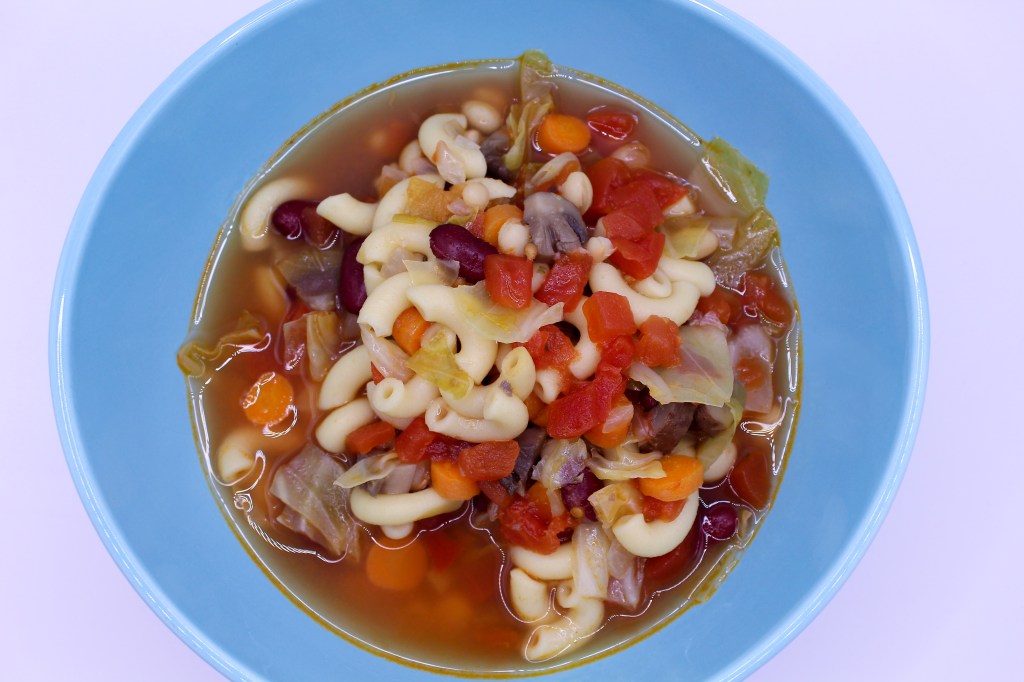
Loaded with fresh vegetables, creamy beans, and tender pasta all in a rich and savory broth. The best thing is you can add the vegetables you like and leave out the ones you don’t! As a side note, I’ve made this with ground turkey and ground sausage. It’s incredibly yummy with or without the meat! This is on my menu often and is one of my favorite Instapot recipes.
Ingredients:
1 Head of cabbage (Diced)
1 Small sweet onion (Diced)
1 Cup Mushrooms (Sliced, I used baby bellas)
1 Cup Carrots (Diced)
1 Cup Celery (Diced)
1 Cup Macaroni pasta
1 12 Oz Can of kidney beans (I used dark)
1 12 Oz Can of White Beans (I used navy beans)
1 14 Oz Can of Petite Diced Tomatoes (Do not drain)
4 Cups Vegetable BrothSalt and Pepper to taste
Add everything to your 8qt Instapot, give it all a stir, and lock your lid. Make sure the lever is pointing towards “sealing” and pressure cook for 2 minutes. That’s it! Though it does take only 2 minutes to cook, it will take about 15-20 minutes to come to pressure.
Just a girl with a passion for cooking
